• Home
  • Blog
  • Basics + Pantry Staples
  • Preservation
  • Desserts & Sweets
  • Breakfast
  • Entrees & One-dish Meals
  • Salads + Sides
  • Soups & Stews
  • 10 Minute Recipes
  • About
  • Say Hello
  • Portfolio
Menu

of the dirt

Street Address
San Diego, CA
Phone Number
an exploration of food and culture

Your Custom Text Here

of the dirt

  • Home
  • Blog
  • Recipes
    • Basics + Pantry Staples
    • Preservation
    • Desserts & Sweets
    • Breakfast
    • Entrees & One-dish Meals
    • Salads + Sides
    • Soups & Stews
    • 10 Minute Recipes
  • About
  • Say Hello
  • Portfolio

Sweet Potato and Thai Curry Soup

December 5, 2015 Sarah Ward
Red Curry Paste: Not all red curry pastes are created equal. They vary in heat and potency, and each has its own flavor characteristics. If you aren't familiar with purchasing curry pastes, you can typically find a brand or two at your nearest chain grocery store. However, a local ethnic foods market would be a great option, if you have one.

When purchasing your curry there are two rough guidelines you can follow. First, typically, the thicker the paste is the more concentrated the flavor will be. Next look on the package to see if it gives a recipe. If it does, look for the ratio of paste to coconut milk the brand recommends. I've tested a few different pastes in the past few months and find the brands that recommend fewer tablespoons per 14 ounces of coconut milk create the most flavorful dishes. If there isn't a ratio given, start with 1 tablespoon in this recipe and taste after the 2 1/2 hour mark. You can always add more. 

Thai food can be intimidating. I often hear people say that they would never attempt making it on their own. However, making dishes using traditional Thai flavors can be quite easy; even easier when you throw your crock pot into the mix.

Chopping a few fresh veggies and throwing everything into your pot is about the only prep for this recipe.  In just a few minutes you'll have a delicious soup simmering and filling your house with sweet Thai aromas. In the hustle and bustle of the holiday season, this soup can be great 'comfort food.'

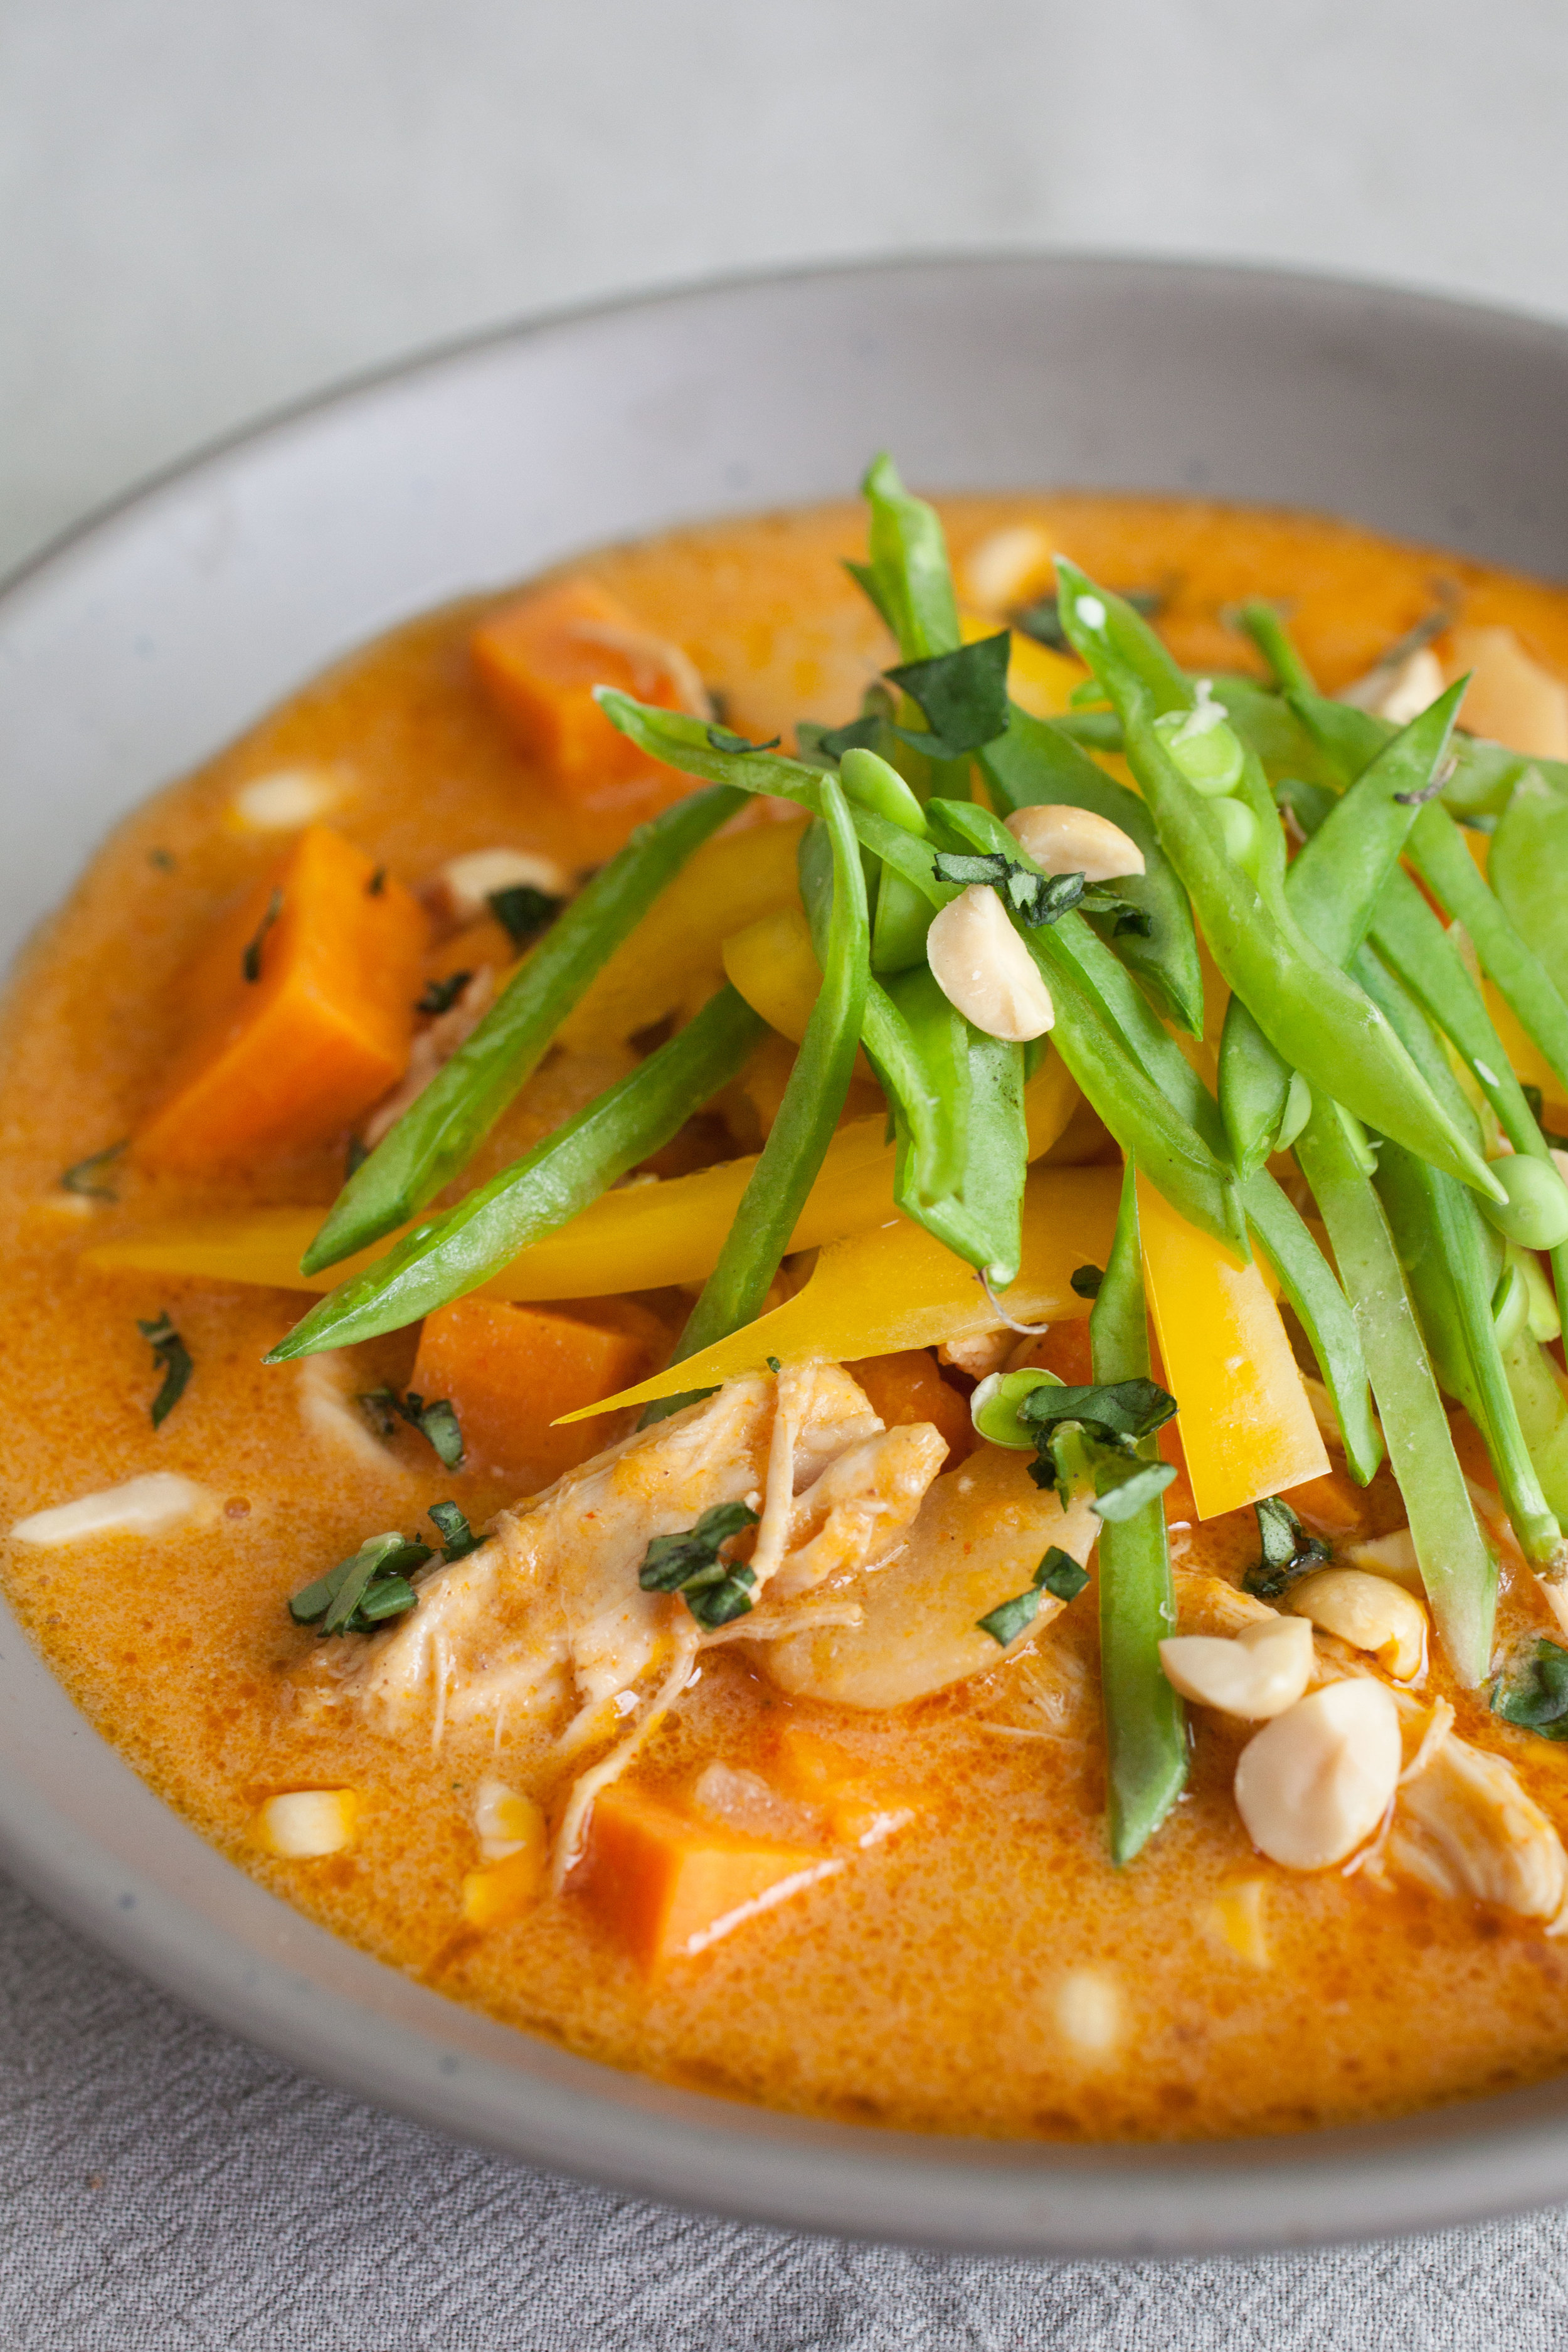
When I first tested this recipe, I put the bell peppers into the mix and let them cook with the soup.  In my second batch I found that keeping them raw and adding them at the end with the snow peas adds a sweet crispness to the soup. My husband tells me that soup can end up tasting a little monotone after several spoonfuls; adding fresh vegetables and peanuts is a way to keep your tastebuds moving from one layer of flavor to another.

One more note: this recipe also calls for galangal - a root used as an important ingredient in Thai curry pastes. Its flavor is peppery like ginger but has a more floral and citrusy flavor. I bought powdered galangal from Penzey's Spices; however, if you can't find it or aren't interested in purchasing it, you can leave it out or add an extra teaspoon of ginger. The soup will taste great either way.  

Now curry up, Sweet Potato, and thai this soup!


Sweet Potato and Thai Curry Soup

  • 1/2 large onion, chopped
  • 1 lb of boneless chicken 
  • 1 large sweet potato, peeled and chopped
  • 8 oz can sliced water chestnuts, drained
  • 5" stalk of lemongrass, cut into 3 pieces, or 2 tsp of ground
  • 3 14 oz. cans coconut milk (full fat is better here)
  • 1 cup chicken stock
  • 2 tbsp red curry paste (I used Thai Kitchen brand)
  • 1 tsp garlic powder
  • 2 tsp galangal powder 
  • 2 tsp minced ginger
  • 1/2 - 1 tsp kosher salt
  • 2 limes
  • Red, yellow or orange bell pepper, thinly sliced
  • Snow peas, thinly sliced (about 1/2 lb will do)
  • Roasted peanuts, roughly chopped (optional)
  • Basil, minced (optional)

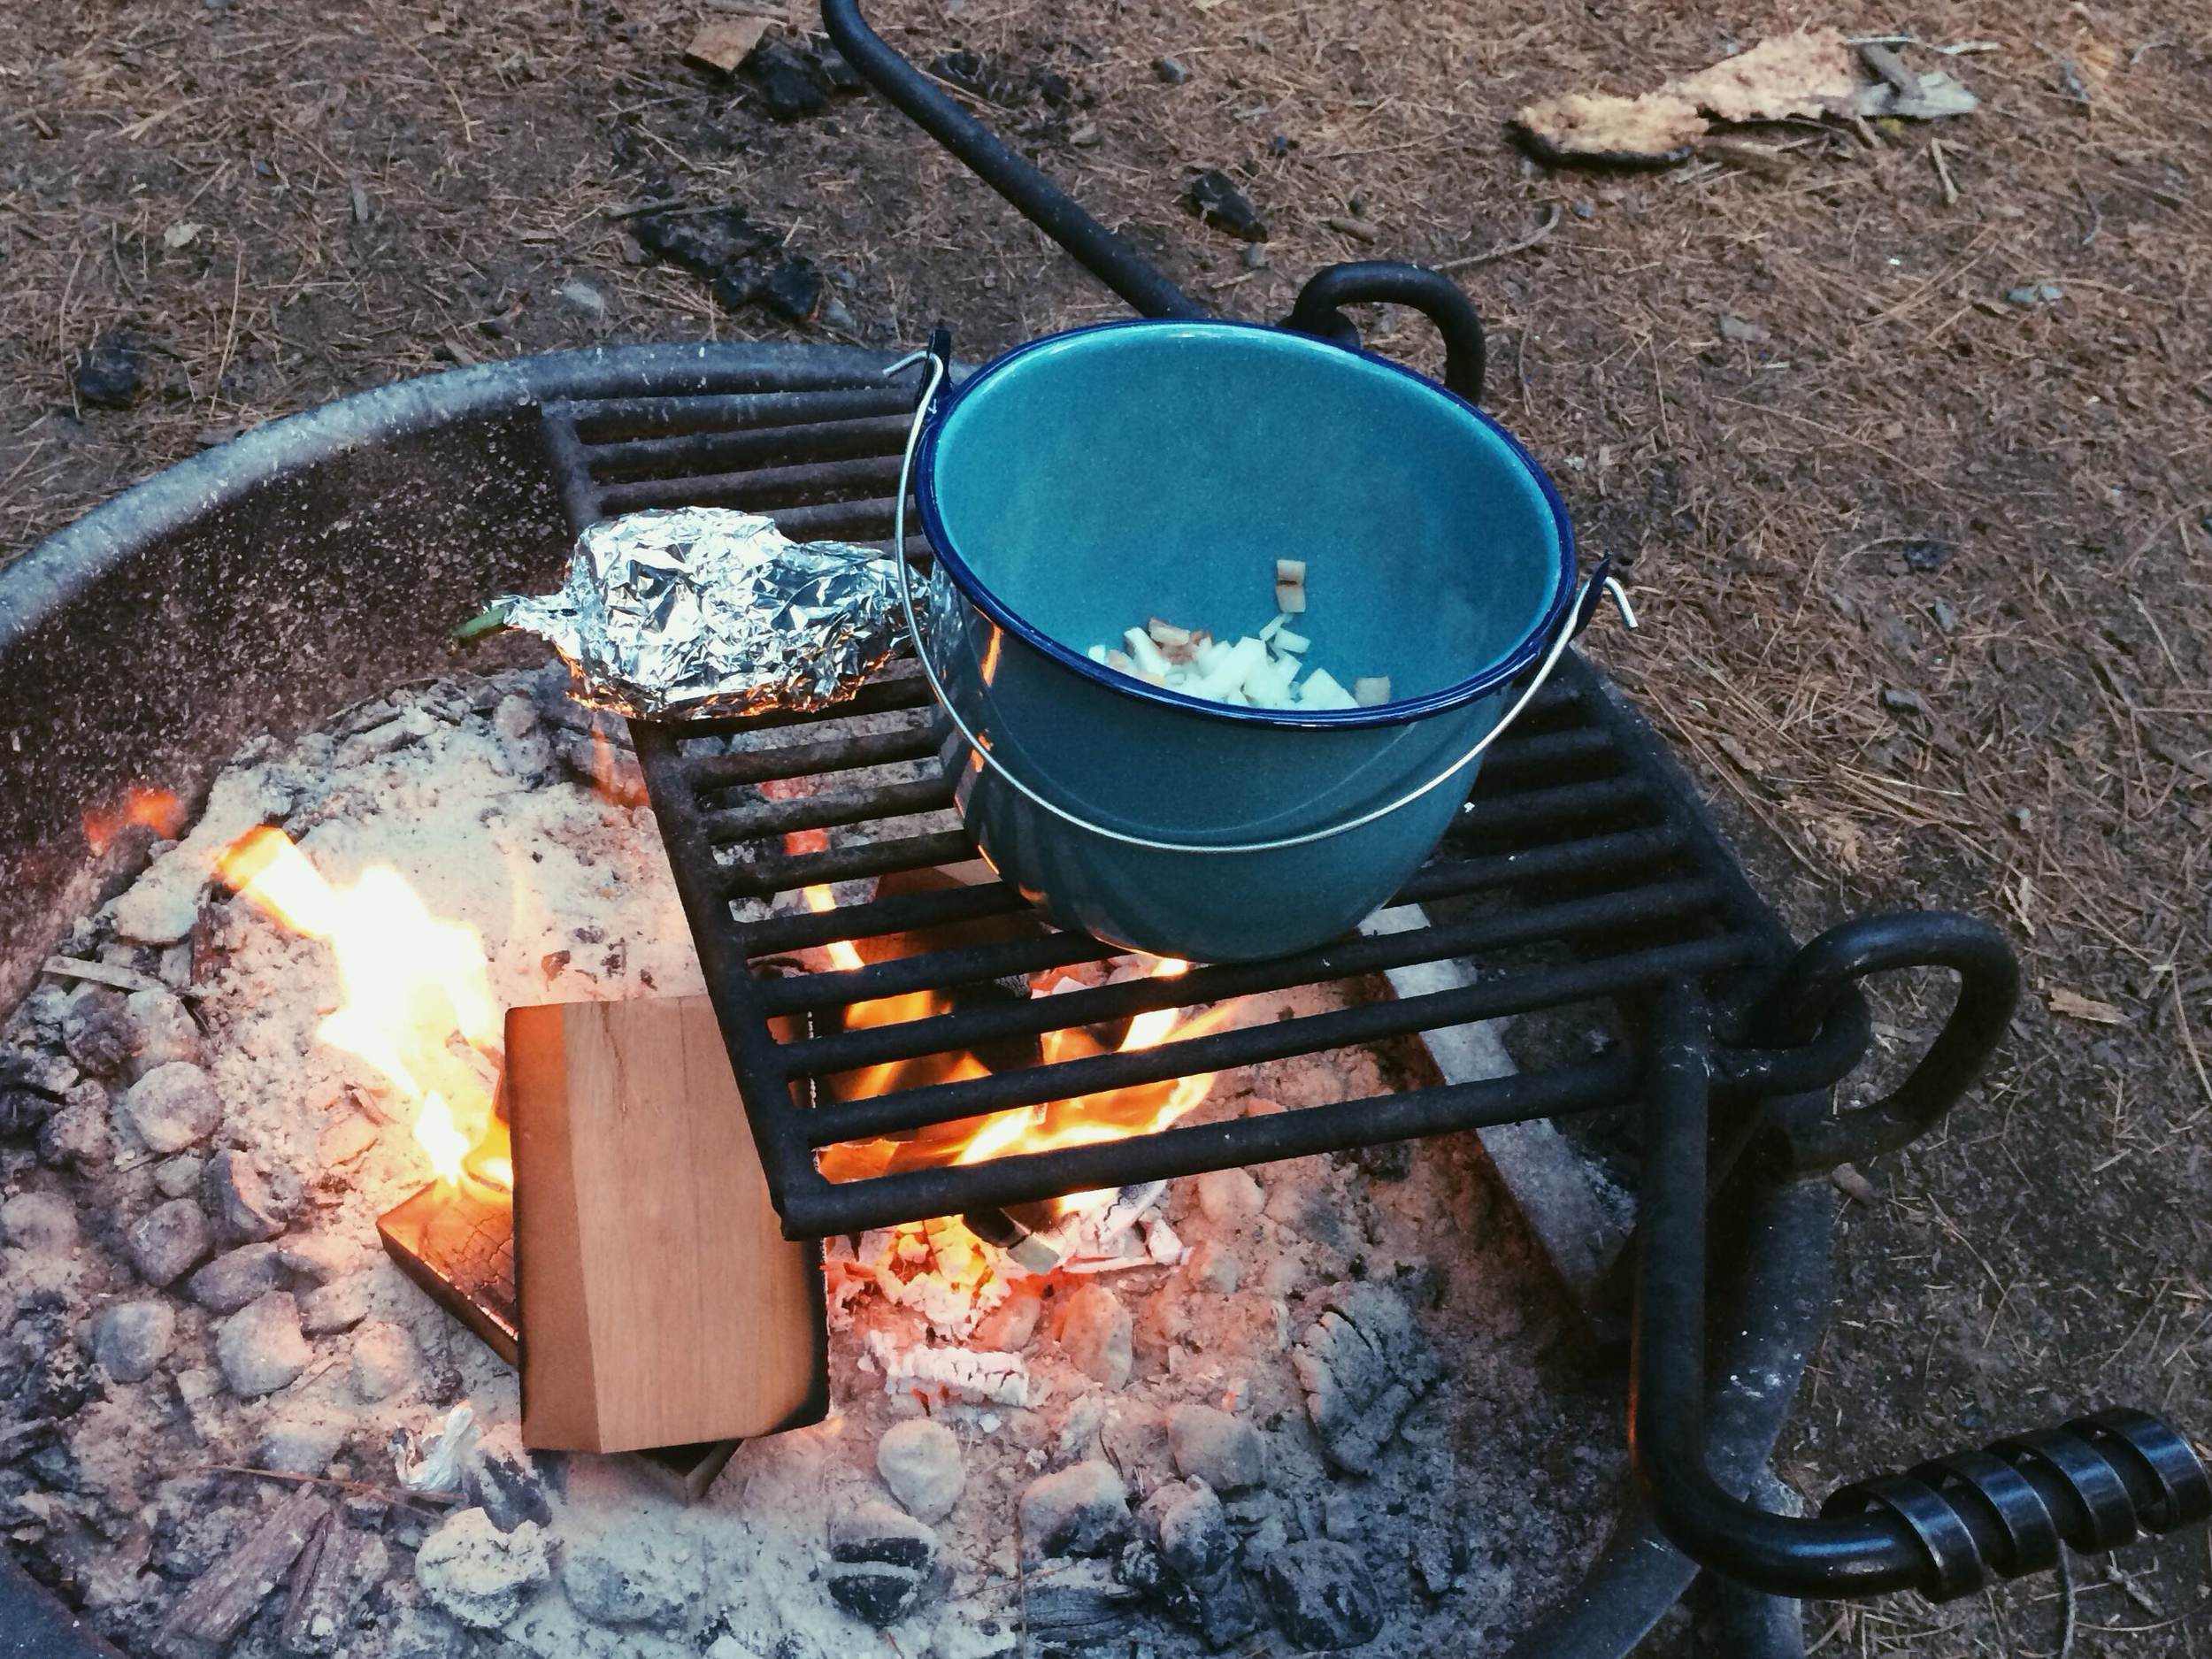
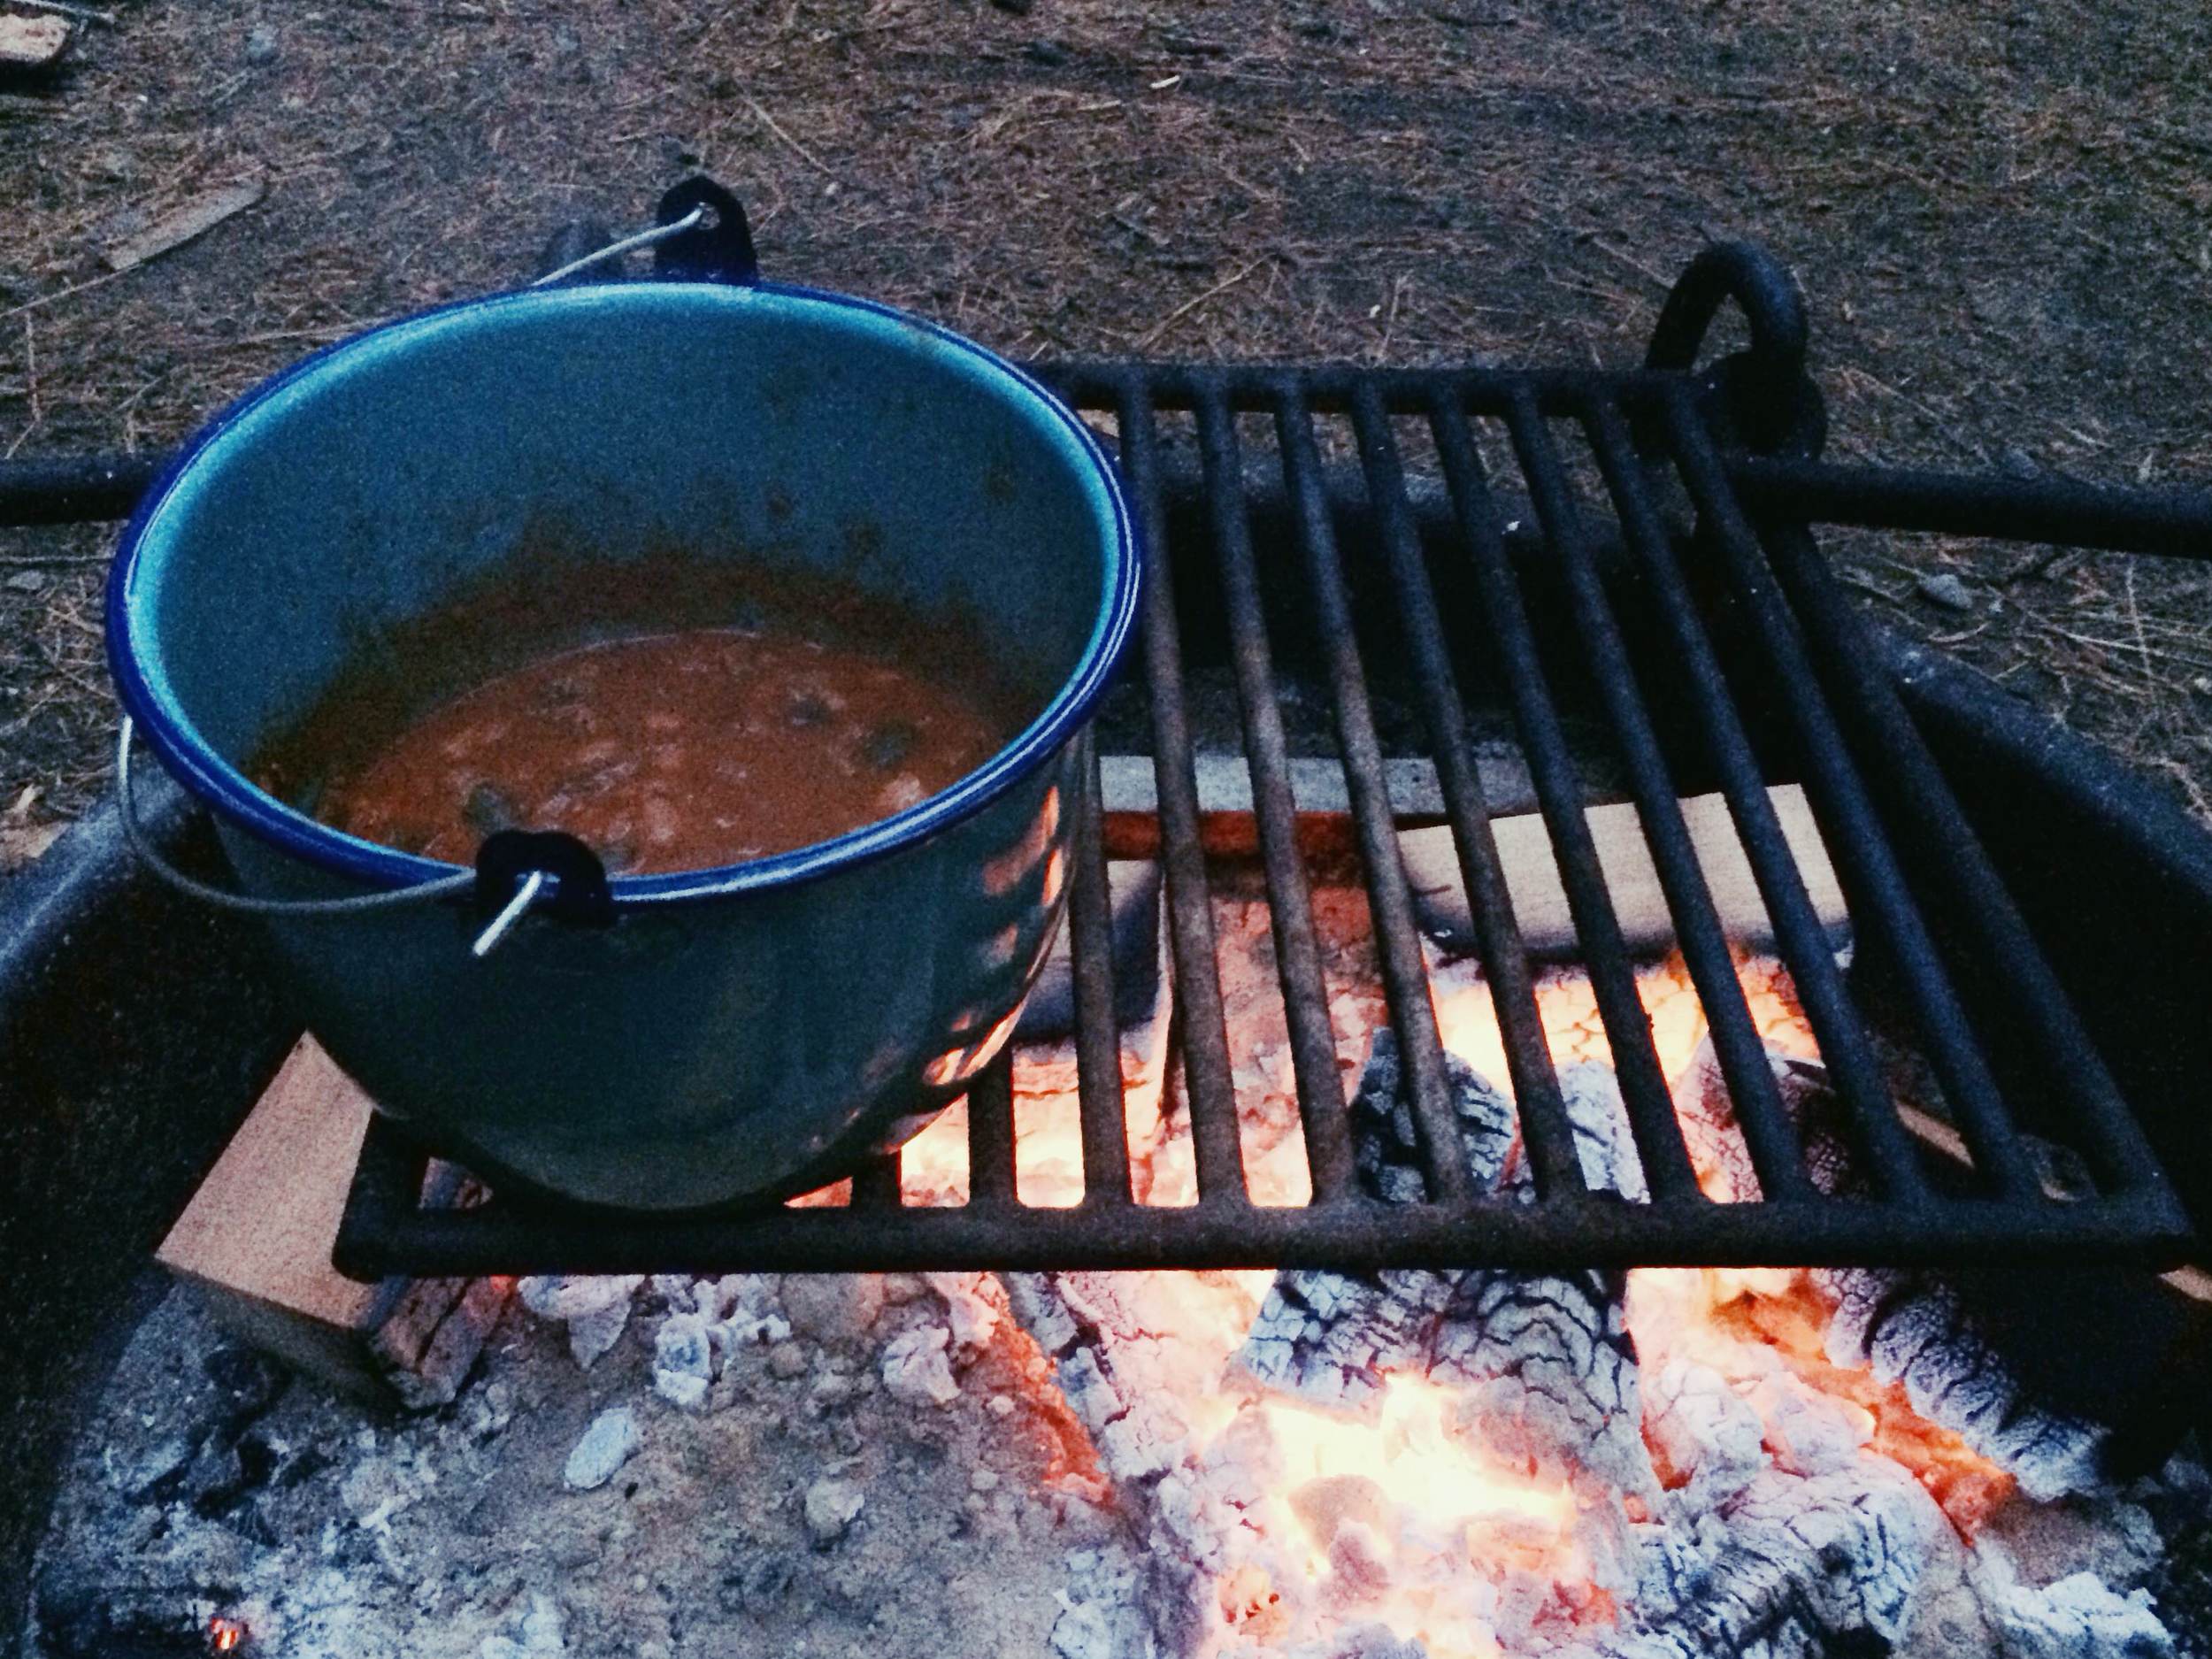
Combine all the ingredients from the onion through the ginger in a crock pot. I put my chicken in whole and pull it apart later (cutting raw chicken isn't one of my favorite kitchen duties, so I avoid it if I can). Stir until the red curry paste and spices are thoroughly mixed in. Turn your crock on high heat and cook, covered, for 2 1/2 hours. If you're around while it's cooking, stir it occasionally. If you aren't, that's okay!

Stir your soup and taste to see if it needs salt. I would start with 1/2 tsp and go from there, as some chicken broths have more salt than others - salt to your liking. If you started cooking with whole or large chicken pieces, remove them from your pot. Shred with a fork or cut them into bite size pieces then return it to your pot. If you aren't ready to serve, turn your heat down to warm. It'll keep like this for a couple of hours - your sweet potatoes may get softer and start breaking down, but that'll only make for a thicker soup, which is definitely not a bad thing.

When ready to serve, juice the limes into your pot and stir. Fill your bowls with soup, adding bell pepper and snow peas on top. Sprinkle with roasted peanuts and basil, if you have any. 

Serves 5


In Entree, Recipe, Fall, Soups and Stews, Winter Tags Thai, Coconut Milk, Sweet Potato, Curry
Comment

Yosemite Chili

May 27, 2014 Sarah Ward

Chris and I spent this past weekend adventuring around Yosemite. For a first timer, about the only way to express what I saw is repeatedly saying "wow." I've seen the pictures and knew it was beautiful, but there's a magic that can only be captured by first-person experience of standing in the meadows with shear granite cliffs stretching a mile and a half above your head. 

If you've never been, put it on your list of places to visit in the near future. You won't regret it. 


photo1.jpg
photo4.jpg
photo2.jpg
photo1.jpg
photo2.jpg
photo5.jpg
photo3.jpg
photo1.jpg

Yosemite Chili

  • 1 yellow onion
  • 1 piece of bacon
  • 15 oz can pinto beans
  • 8oz can tomato sauce
  • 8oz can crushed tomatoes
  • 1/2 - 3/4 lb grass fed ground beef
  • 1 poblano pepper
  • 1 cup water
  • Chili seasoning mix (see recipe below)

Chili Seasoning Mix

  • 1 1/4 tsp cumin
  • 1 1/2 tsp chili powder (adjustable depending on level of spiciness you prefer)
  • 1 tsp garlic powder
  • 1 tsp paprika
  • 1/4 tsp celery salt
  • 1/4 tsp black pepper
  • 1/2 tsp oregano


Mix all ingredients of the the chili seasoning together. This can be made at home, stored in an airtight bag or jar and brought with you, or you can tote your spices with you to camp if you want to use them for other meals (I found it to be fairly convenient to have them with me). Set mixture aside for the moment.

Chop the bacon and onion into small chunks and place them in your pot. Wrap the poblano pepper in foil and place each item on the grill grate over your fire. You'll want to make sure you have a grate on the fire pit, or bring one with you. The chili will burn if the pot is set directly on the coals. Cover the pot and let the bacon start to sizzle. Let this cook, covered for 10 minutes, stirring every few minutes to insure it does't stick. The goal here is to get a bit of the bacon fat to start melting and begin caramelizing the onions.  Check your pepper. If the skin is starting to blacken and the flesh has begun to soften, take it off the fire and dice into small pieces (be sure to discard the seeds). Feel free to throw the pepper directly on the hot coals if you want a smokier flavor and the pepper to cook faster. It will also make the flesh softer, so it really depends on the your texture preference. 

Once the onions are translucent, add the ground beef to the pot. Cover and stir occasionally. Let the meat cook for 5-10 minutes or until it starts to brown. Add the diced poblano and remaining ingredients along with your chili seasoning and stir until thoroughly combined. Cover and let simmer for at least 20 minutes. The longer it cooks, the richer the flavor becomes and the thicker the chili. If you want to keep it cooking for a while, just be sure to check it every now and then to see if it's getting too dry (if too much liquid evaporates, it will start to burn). Add a half a cup of water at a time as needed. Serve and enjoy, hot off the fire.


Serves 3

photo1 (3).jpg
In Entree, Recipe, Camping, Soups and Stews Tags Chili, Bacon, Poblano, Pinto Beans, Ground Beef
2 Comments

Foil Dinners & Campfire Brussels Sprouts

February 11, 2014 Sarah Ward
Veggie cutting copy.jpg

Foil Dinners & Campfire Brussel Sprouts

A few weekends ago, Chris and I went camping up at Palomar Mountain State Park (if you love trees, you should go. Coming from someone who moved from a subtropical rain forest to the desert, this place is tree therapy). We hit the farmers market on our way out and grabbed some ingredients to make our childhood camping favorite- foil dinners.

What I've started to realize throughout my time of frequenting these local markets is that if you are heading out on a road or camping trip, stopping by the market on your way out is well worth the small amount of extra time it takes to shop there than at the grocery store. 

*You can make a vegetarian option by eliminating the ground beef and adding the sprouts to the main meal.

Foil Dinners

  • 1/2 lb grass fed ground beef
  • 10-12 mixed baby potatoes (or 3 red potatoes)
  • 1 shallot*
  • 5-6 small carrots
  • 2 large lettuce leaves
  • 6 garlic cloves
  • Worcestershire sauce
  • Butter
  • Salt and pepper

Campfire Brussels Sprouts

  • 1 lb brussels sprouts
  • 1 shallot*
  • 3 garlic cloves
  • Butter
  • Salt and pepper

Start your campfire. Lay out 3 pieces of foil- two for the dinners and one for the sprouts. You'll want to make sure you have enough foil to fold over itself to create a sealed package, roughly 18 inches long.

For the foil dinners, place a lettuce leaf in the center of each foil piece. Cut potatoes, onion and carrots into 1 inch pieces and dice garlic cloves. Divide cut veggies, garlic and ground beef evenly and place on top of the lettuce. The lettuce might seem like an odd addition, but it will keep the dinners from burning in the coals and will keep your meet moist while cooking.

Add 7 to 8 shakes of Worcestershire sauce to each dinner - this measurement can certainly be adjusted based on your taste. Add a couple of pats of butter on top and sprinkle each with a pinch of salt and pepper. Starting hot-dog style (or taking the two longer sides of the foil), fold the edges together until they touch and pinch together to form a seal. Do the same with the opposite ends, but make sure they overlap. Check to be sure that all end are sealed- this will steam the dinners and trap the flavors. 

For the brussel sprouts, lay out a piece of foil just like you did for the dinners. Cut each sprout in half, chop the shallot and garlic cloves and place on the foil. Top with a couple of pats of butter and sprinkle with salt and pepper. Fold over and seal the same way as the dinners.

Place the dinners and sprouts on outer edges of your campfire coals and cook for 15-20 minutes. They may take longer depending on the strength of your fire, so check them after 15 by poking a potato with a fork or knife. If they need more time, reseal and return to the fire and check them every 5 minutes. If the sprouts begin to burn do to the heat of the coals, try moving the to the further edges or place them on the grill grate above the fire pit if it has one. 

*The shallot can be substituted for 1/2 a small onion if you can't find a shallot easily

Serves 2

In Recipe, Entree, Camping, Winter, Fall Tags Ground Beef, Brussel Sprouts, Potato, Carrot
Comment

Fish Tacos with Mango Salsa and Cilantro Yogurt

November 4, 2013 Sarah Ward

Fish Tacos with Mango Salsa and Cilantro Yogurt

  • 3 tilapia or mahi mahi fillets
  • 4 limes, juiced
  • Olive oil
  • Salt & pepper
  • Purple cabbage
  • 6 Corn tortillas
  • Mango Salsa (below)
  • Cilantro Sauce (below)

Place tilapia fillets in a baking dish. Drizzle with a small bit of olive oil, pour over the lime juice and lightly sprinkle with salt and pepper. Let stand for 5 minutes. You can grill or bake this fish via the instructions below. Both ways turn out great so it's entirely up to your preference. 

Grilled: Grill fish on medium heat for 5-7 minutes on each side, or until the fish begins to turn opaque and becomes flaky. Be careful not to burn it! However, crispy edges are delicious.

Baked: Cover baking dish containing the fish with foil. Bake in a 375° oven for 15-20 minutes or until fish is flakey. This fish is also great is placed in a parchment bag and baked according to the instructions above. If you a bag, I suggest throwing a lime rind in with the fillets.

While the fish is cooking, finely chop the cabbage in strips or shred using a cheese grater or mandolin.

To build your tacos, divide your fish into 6 pieces and place a piece on each corn tortilla. Top with mango salsa, cabbage and cilantro cream sauce. Enjoy this tasty and healthy dinner!

Makes 6 tacos

Mango Salsa

  • 3 ripe mangos, peeled and diced
  • 1 tbs chopped shallots
  • ¼ c chopped cilantro
  • Juice of ½ lime
  • Salt and pepper to taste

Combine all ingredients and add salt and pepper to taste (not too much!). This is great served on grilled fish, eaten with chips or used as a green salad topper.

*If your mangos are nice and sweet, you’ll be happy with this very simple salsa. If not, add finely diced red or yellow bell pepper and tomatoes. Cucumber and mint would be a great substitute for the cilantro and bell peppers as well.

Cilantro Yogurt

  • 1/3 cup chopped cilantro (stems are okay)
  • 6 oz low-fat plain yogurt
  • 2 tbs olive oil
  • 1 tsp salt
  • ½ tsp garlic powder

Place all ingredients in a food processor or blender. Blend until cilantro is very fine and the yogurt and oil is emulsified (about 1.5 minutes). If you wish to make this spicier, add 1 tsp of chipotle powder.


In Entree, Recipe Tags Fish, Taco, Mango, Cilanto, Salsa
1 Comment
← Newer Posts
 

of the dirt blog

I believe there is a necessity for us to be connected to our food. It makes us aware of seasons and life cycles. It reminds us that vital functions on earth are unplugged. It gives us a unique way to express creativity and build community. I hope the recipes and thoughts shared here Inspire you to make something delicious for someone you love (or just yourself!).


BLOG AUTHOR

Sarah Ward is the Editor of Taste of the South magazine. Currently enjoying life in Birmingham, AL with her husband and their polydactyl cat, Jack.

Sarah Ward is the Editor of Taste of the South magazine. Currently enjoying life in Birmingham, AL with her husband and their polydactyl cat, Jack.


search for recipes


Follow @ofthedirt on instagram

This weekend, a group of friends and talented bakers held another bake sale. With a short 7 days of planning and 4 days of advertising, this small group of kickass women raised over $1,000 selling hand pies, cookies, and pastries. To everyone who sup
🎉GIVEAWAY!!! Want to win a free box of homemade pastries?! There are a few ways to win: 

Birmingham Locals: 
1. Tag your local friends below and spread the word about our bake sale fundraiser. Each tag is an entry. TWO winners will be chosen tomorr
HAPPY FALL!!!!!!! It’s my favorite time of year and for the first time that I can remember, it actually feels like fall outside in Alabama! To celebrate, make a batch of these Pumpkin Oatmeal Chocolate Chunk Cookies...they use a whole jar of @t
It was 68 degrees here today and everyone was hoarding the fall products at Trader Joe’s yesterday (I actually witnessed a woman frantically grab 6 hand soaps, 5 candles, and 3 of every pumpkin-filled-treat thing they had). BUT I’ve got o
Quick pickles are one of the best flavor tools to keep on hand. They brighten up any dish - eggs, tacos, toast, salads, chili, sandwiches, pretty much anything that goes with vinegar. And, they’re so easy to make! (You don’t really even n

Let's Keep in Touch!

Get new recipes delivered right to your email. 

Thank you! Looking forward to staying in touch.

For now, head on over and say hi here. 

© Sarah Ward and of the dirt, 2017. Unauthorized use and/or duplication of the photographs and recipes without express and written permission from this blog’s author and/or owner is strictly prohibited. Excerpts and links may be used, provided that full and clear credit is given to Sarah Ward and of the dirt with appropriate and specific direction to the original content.