One of the most anticipated fruit seasons of the year for me is when persimmons hit the market. I find myself with a bowl full of them on the counter at most times during the months of fall and winter. These orange squatty fruits are like little the peaches of winter - nothing quite like them and when they are ripe and sweet they are perfect eaten out of hand. I will issue you a fair warning though; please be sure you know which variety your are digging into and just what "ripe" means for it, or you might surprise yourself with a less-than-thrilling feeling of eating chalk....
I know I talked a bit about persimmons last year, but I keep meeting people that don't know what they are or don't like them because they've had a bad experience eating an astringent one. So, I'll be posting a few persimmon based recipes as we lead into winter. For those of you who don't fawn over pumpkin everything, persimmons may just be the "basic" obsession you need.
Featured: Fuyu Persimmons
When ripe, they have a honey-like sweetness that is delicious and unique for a winter fruit. This particular variety is not astringent (causing a chalky mouth feel) so it can be eaten when less ripe, but their sweetness deepens as they ripen. As the persimmon ripens, the color will become richer and the flesh will start to give slightly - similar to a slightly under ripe pear. Serve raw or cooked.
Nutrition: Rich in potassium and Vitamins A and C. Also a good source of antioxidants, fiber and Omega-6.
Season: October & November; through winter in warmer climates.
For this Persimmon and Apple Crumb Pie, you'll want to find richly colored Fuyu persimmons that are still firm. You can tell if they are the right ripeness by placing one in your palm and gently giving it a squeeze - it should feel like an apple. If this is your first time working with persimmons, keep the stem end on while peeling and slicing. This will give you something to grip and ensure your hand doesn't slip (while I'm sure the ER doctors are lovely, please don't go visit them). You can use a standard vegetable peeler and peel the fruits just like you would an apple. There is no thickening agent added to this pie, something which any pie maker might find odd. Persimmons are very high in pectin and since the fruit macerates and the juiced are then reduced, there's no need for extra cornstarch or flour.
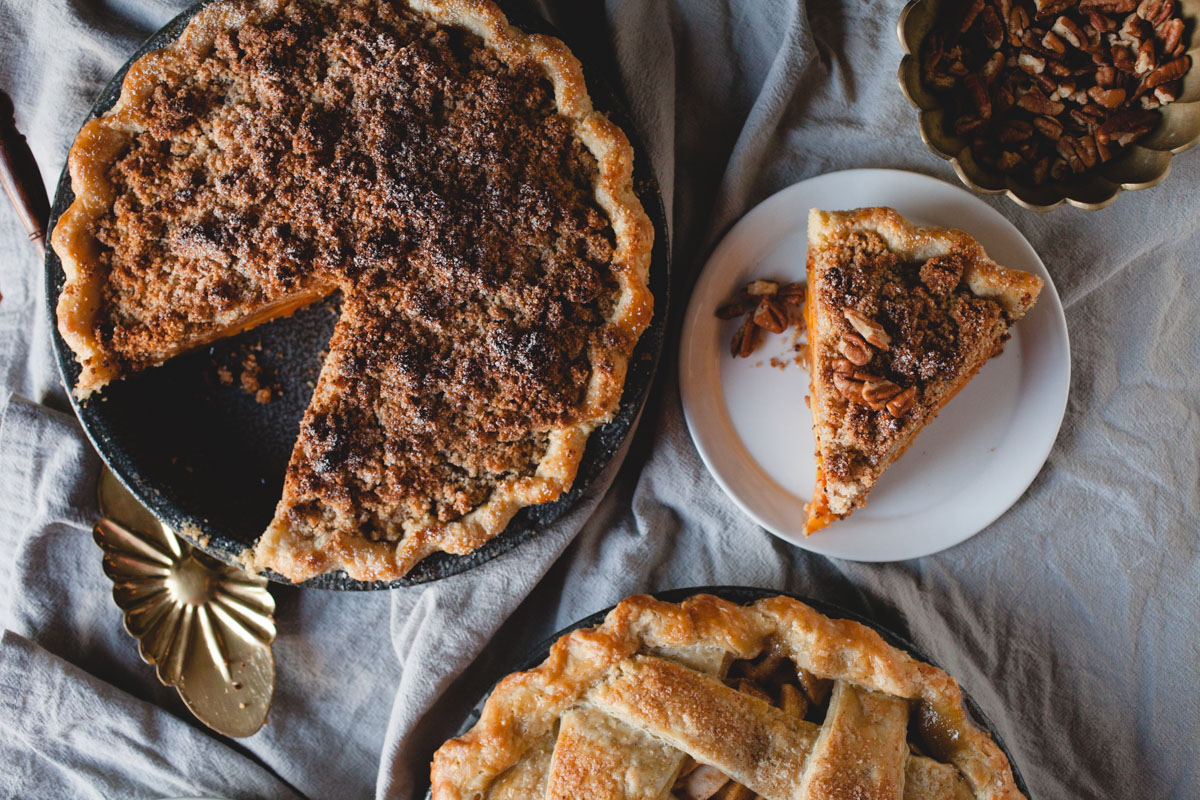
Persimmon and Apple Crumb Pie
6 Fuyu persimmons (4-5 if they are large - about the size of your palm)
1 large apple, cored
3 Tbsp granulated sugar
3 Tbsp brown sugar (or sub in 6 Tbsp coconut sugar for both granulated and brown cane sugar)
1 tsp ground cinnamon
1 tsp ground ginger
1/4 tsp ground cardamom
1/8 tsp ground black pepper
1 large orange, juiced
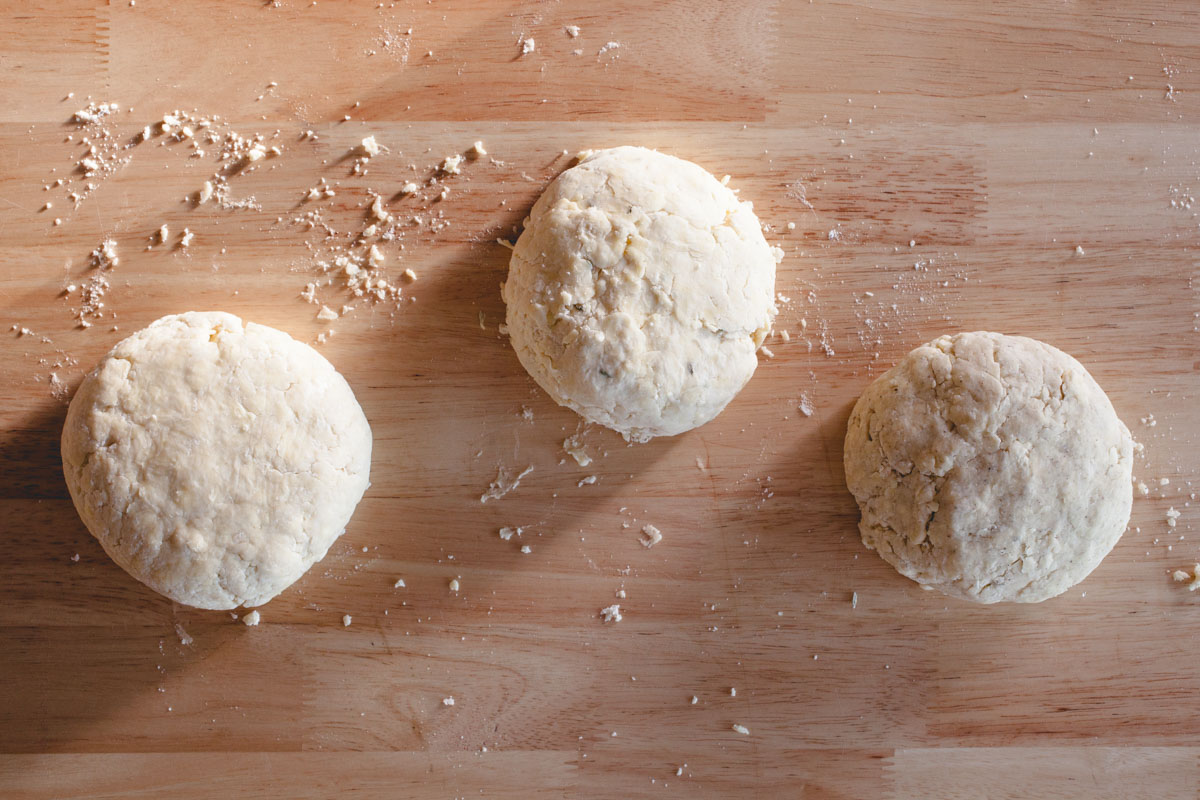
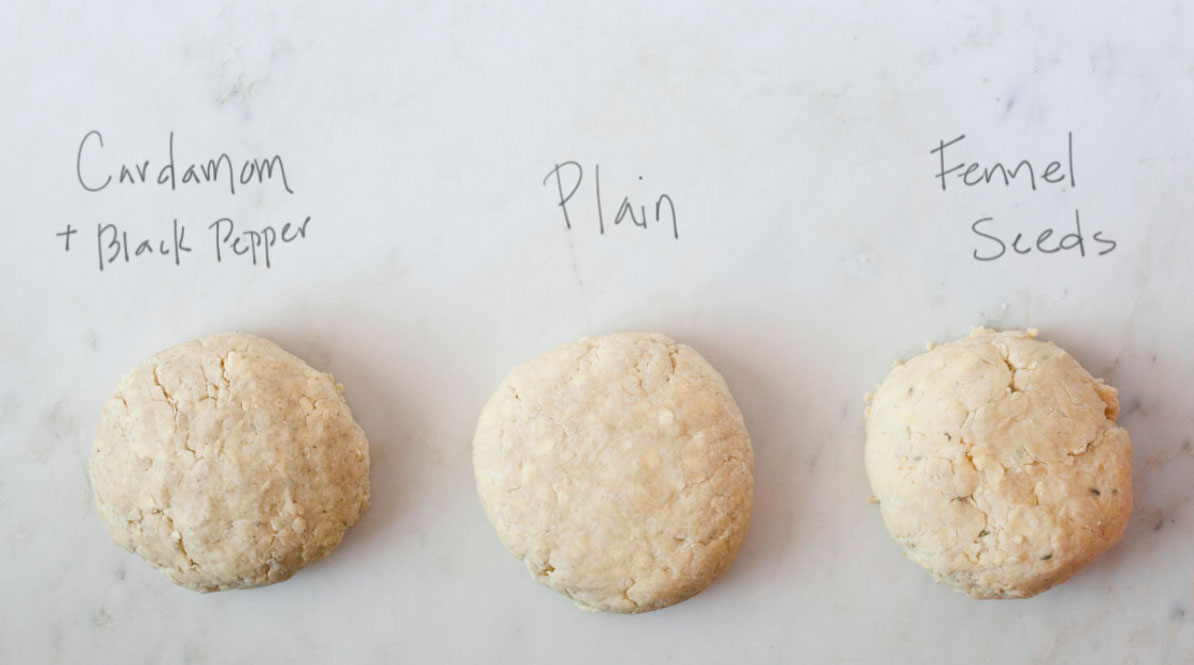
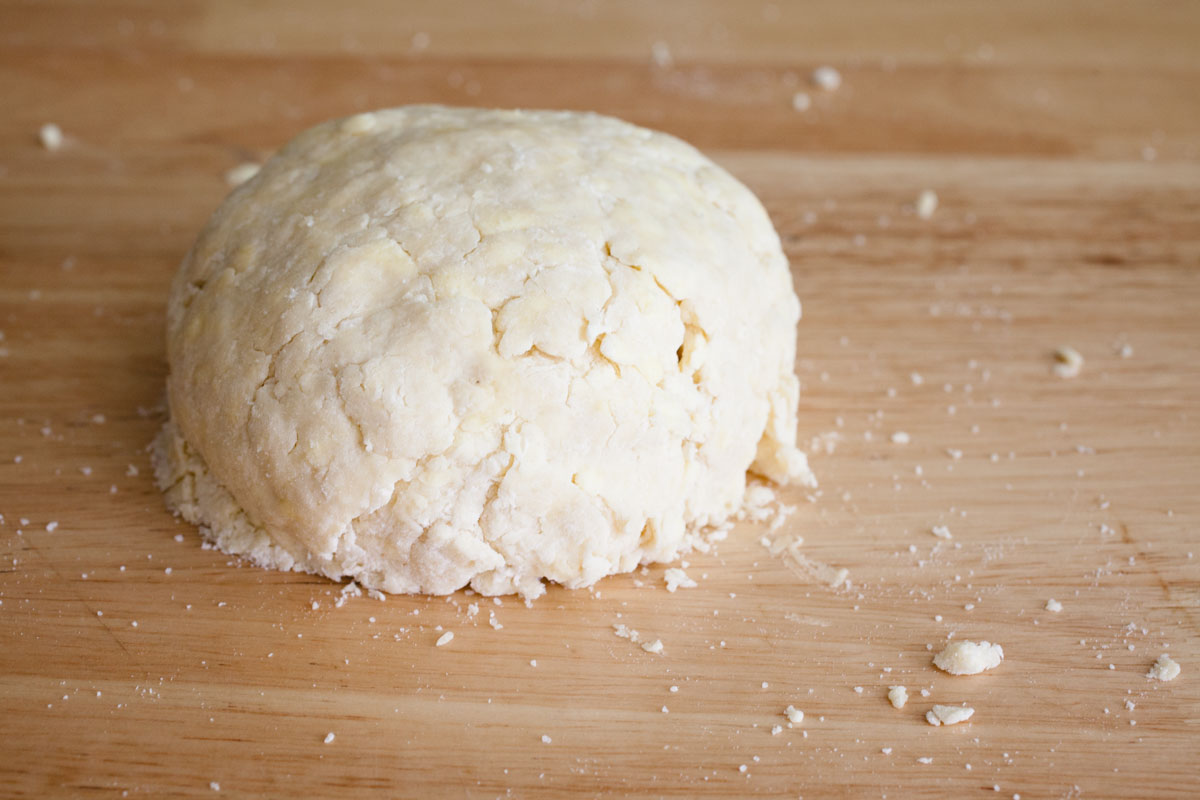
1 recipe Basic Pie Crust, prepared and refrigerated
Egg wash (optional; 1 egg beaten with 1 Tbsp cold water)
Crumb Topping
½ cup all-purpose flour
½ cup almond flour
3 Tbsp brown sugar
4 Tbsp unsalted butter
½ vanilla bean, split and scraped or 1 tbsp vanilla extract
Peel and slice the persimmons and apples into thin rounds (1/4” thick). If you have a mandolin, keep the stem end on the fruits to use as a hand guard and guide. Deseed any slices if necessary and place in a gallon size zip-top bag or other airtight container. In a small bowl, combine both sugars and all dry spices. Sprinkle over the fruit. Pour in the orange juice and toss to fully coat. Seal the bag, making sure to press out any air, or press a sheet of plastic wrap onto the surface of the fruit and seal with the lid. Place in the refrigerator for at least 6 hours or overnight.
Roll out the pie dough and place it in a 9” pie pan. Crimp or decorate the edges as desired. Place the prepared crust in the freezer until ready to fill.
(This is a great place to pause if you need to prepare something else for your meal or are wanting to prep for your pie ahead of time. When ready to bake, continue with instructions below.)
Preheat oven to 350 F.
Strain the sliced fruit, collecting the syrup in a bowl. Place the syrup in a small sauce pan over medium-low heat and bring to a low simmer, stirring occasionally. Cook until the liquid thickens and becomes the consistency of cold maple syrup. Remove from the heat and set aside.
To make the crumb topping, mix together flours and sugar. Add the butter to a small saucepan over medium-low heat. Stir as the butter melts and bubbles. Continue stirring and cook until the butter solids start to brown, about 3 minutes. Remove from the heat and stir in the vanilla bean scrapings or extract. Pour the browned butter over the flour mixture, mixing with a fork until the ingredients are no longer dry and have formed small clumps.
Remove your pie crust from the freezer and brush the edges of the crust with the egg wash, if desired. Fill the pie by evenly layering in the sliced fruit. Some of the persimmon slices may have stuck together, so gently peel them apart. For any groupings that are falling apart instead of pealing away from each other, don't worry about separating them. Pour the reduced syrup over the fruit and spread the crumb topping evenly over the pie. Place on a parchment lined sheet pan in the middle of your oven for 35-40 minutes. The pie is done when the juices begin to bubble up along the edges of the filling.
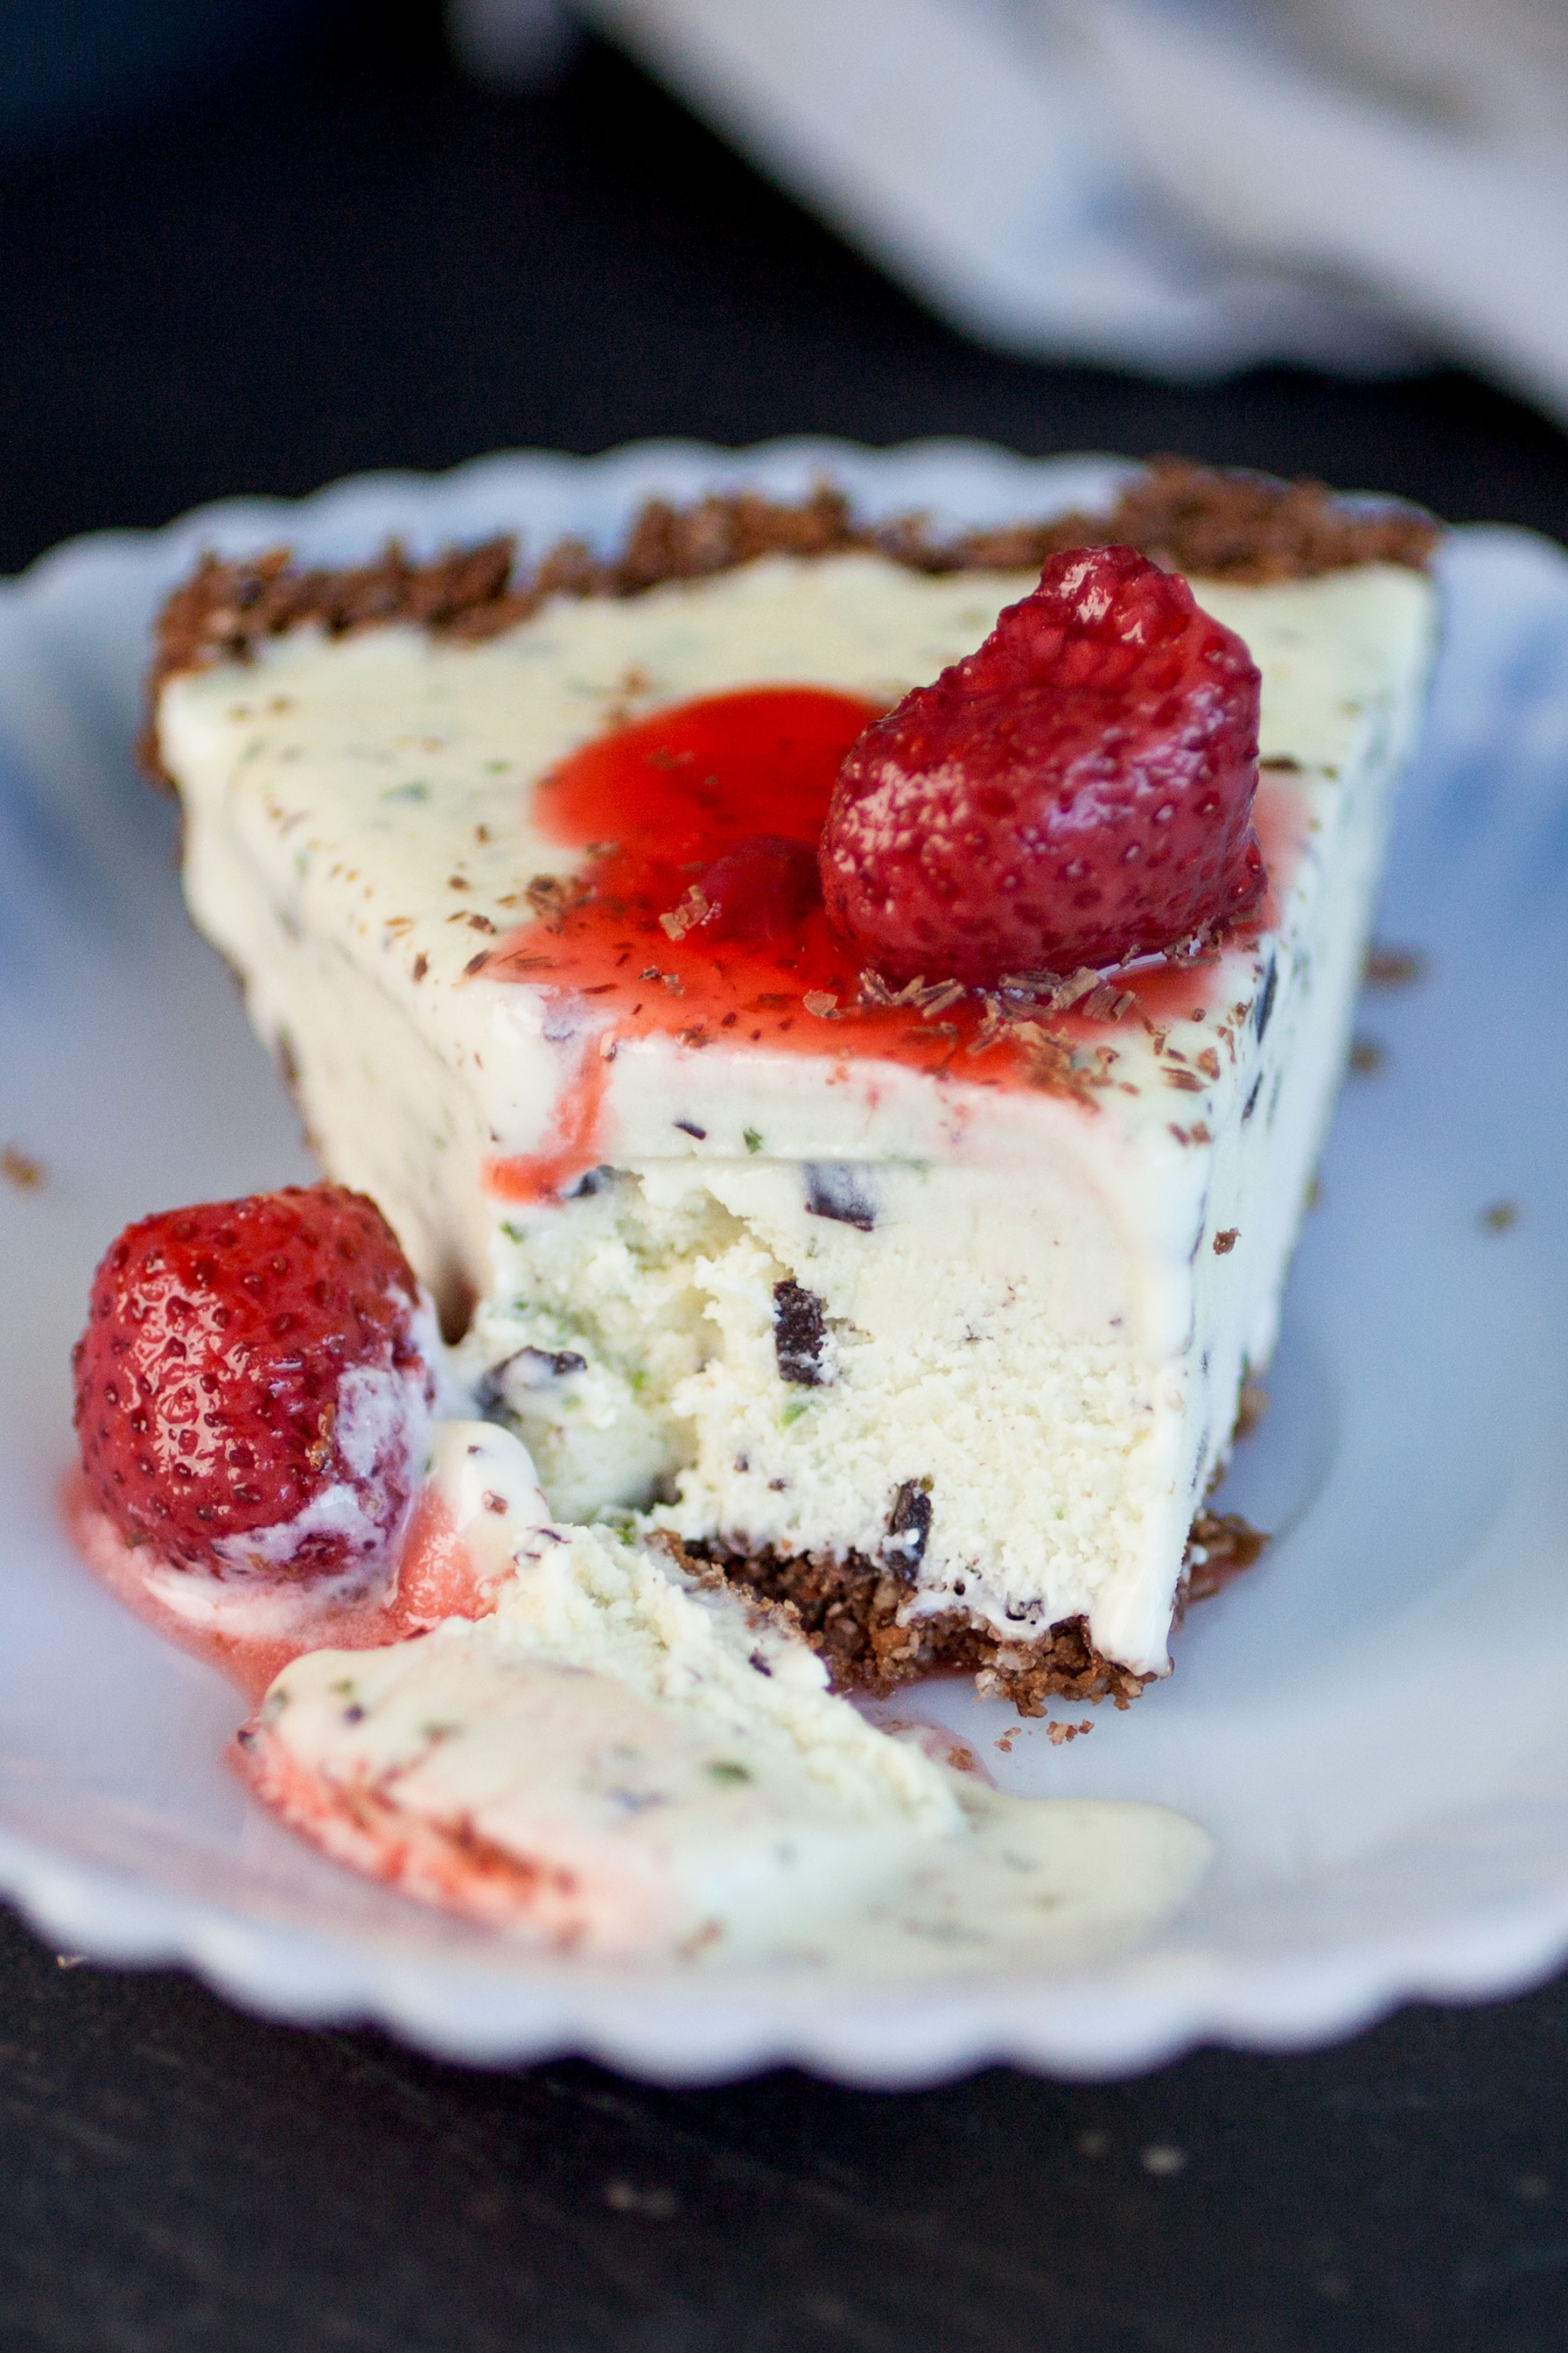
Cool on a rack for at least 1 hour before serving. This pie is excellent served with a scoop of vanilla bean ice cream or freshly whipped cream.
Yield: 9" pie - about 8 servings // Store in the refrigerator loosely wrapped in plastic for up to a week.