Featured: Fuyu Persimmons
When ripe, they have a honey-like sweetness that is delicious and unique for a winter fruit. This particular variety is not astringent (causing a chalky mouth feel) so it can be eaten when less ripe, but their sweetness deepens as they ripen. As the persimmon ripens, the color will become richer and the flesh will start to give slightly - similar to a slightly under ripe pear. Serve raw or cooked.
Nutrition: Rich in potassium and Vitamins A and C. Also a good source of antioxidants, fiber and Omega-6.Season: October through November and into December in warmer climates.
I have to confess something. Christmas is my all-time favorite holiday. I start looking forward the atmosphere and decorations (and the music) in something like May. However, Thanksgiving takes a very close second. I love seeing the incredible variety of dishes and hearing about everyone's traditional family meals. The sides alone are enough to make someone want to gorge themselves just so they can taste everything. The only issue I find with this load of deliciousness is that most of it is heavy - cream based, bread filled, oil slathered, deep fried - and I often find myself looking for something fresh and light to help balance everything out. Thus, I bring you a nice addition to your meal of thanks.
If you're unfamiliar with the persimmon, don't shy away from this recipe. Persimmons tend to land on fall/winter's B-list of fruits and it's time we push them out into the limelight, where they belong. There are few varieties to choose from, but start your persimmon eating journey with the fuyu. If you can, buy them from a local farm or a market that sources locally; they will likely be sweeter and have more flavor than what you'll find at a grocery chain. NPR's got a nice little write up about them if you want to learn more.
Now a note about goat cheese. You may read through this and wonder 1 - why it's whipped and 2 - why it's spread on a plate under the salad. Well, if you ask two questions, you'll get two answers. 1 - whipping it changes the consistency to a delectably creamy texture that spreads easily. 2 - spreading it under the salad allows the dressing to mix with the cheese as you're eating, and assures that you don't get overpowering amounts of goat cheese in any single bite. There's also a couple of tips on how you can adapt the recipe to use in different ways. Also, be sure to use a good goat cheese for this. Trust me, it's worth the extra few pennies.
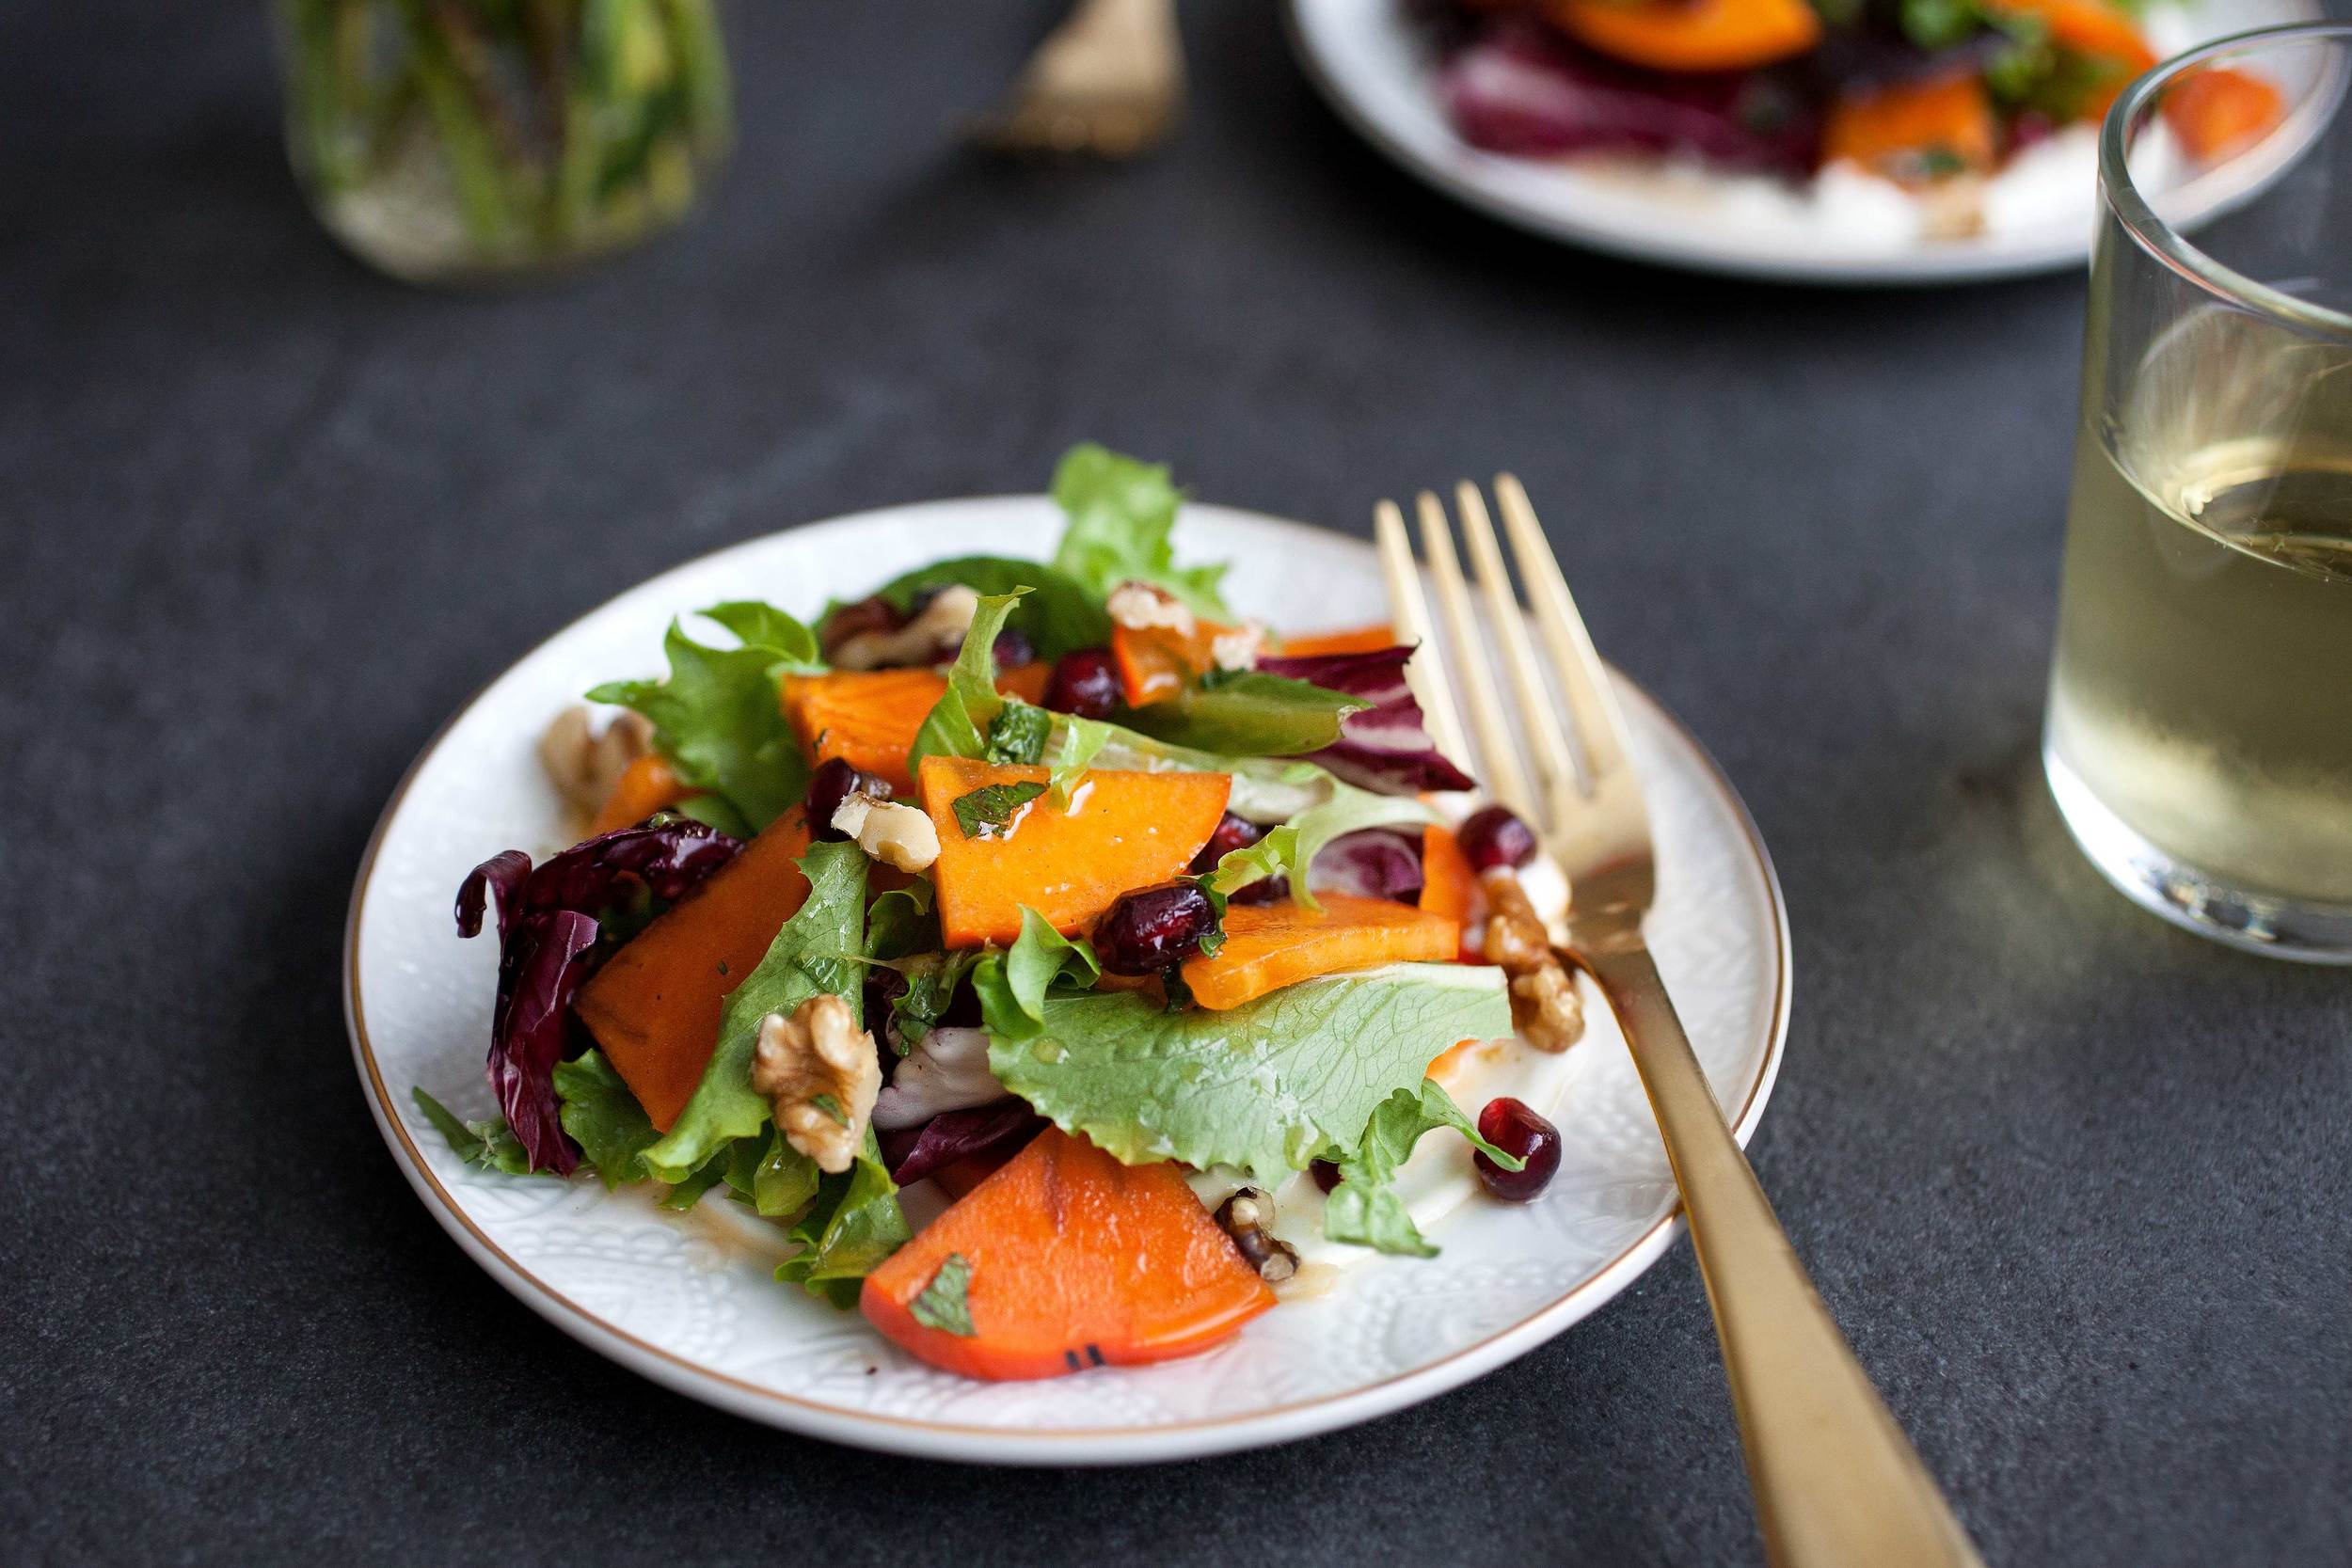
Persimmon Salad + Whipped Goat Cheese
- 2 Fuyu persimmons
- 1/2 cup pomegranate arils (seeds)
- 1/3 cup chopped walnuts
- 2 cups spring lettuce mix
- 1 cup torn radicchio leaves
- 1 orange, juiced
- 1 tsp honey
- 1 1/2 tbsp fresh mint, minced
- 1 tbsp olive oil
- Black pepper and salt to taste
- Whipped Goat Cheese (see recipe below)
Combine the orange juice, honey and mint in a bowl and whisk together until the honey is dissolved. Slowly drizzle in the oil while whisking. Add freshly ground pepper and salt to taste (only add salt if you need to - it can help cut down on the sharpness if your orange isn't particularly sweet).
Cut off the top of each persimmon just below the stem/leaves and slice into 1/4" thick rounds. Stack the rounds and cut them into (smallish) bite size pieces. I like to cut mine into 6 pieces. Place your persimmon pieces in a small bowl and drizzle with 1 tablespoon of dressing. Fully mix together and separate any slices that are stuck to each other - your hands are the best tool here. The dressing will help keep your slices from forming clumps. Add the pomegranate arils, lettuce, radicchio and walnuts. Pour in the remaining dressing and toss together.
Spread 1 tablespoon of the whipped goat cheese on a salad plate. Spoon a quarter of your persimmon salad on top of the cheese and serve.

If you aren't plating food for your guests or you're running things buffet style, try serving this salad in a radicchio leaf (like a lettuce cup, but the radicchio holds up a bit better).
To serve this way, follow the instructions up until plating. Spread 1/2 tablespoon of whipped goat cheese on the inside of each radicchio leaf. Evenly divide the salad in each leaf and serve on a platter.
Mix it up a little and add a tablespoon of fresh minced herbs (such as rosemary and parsley) to the beaten cheese mixture. Spread on toasted baguette or serve a spoonful atop mashed potatoes.
For a sweeter take, add 2 teaspoons of cocoa powder and a tablespoon of honey (or your favorite sweetener) and beat for an additional minute. Spread it on toast or waffles as an excellent replacement for Nutella.
WHIPPED GOAT CHEESE
- 2 oz plain goat cheese
- 2 tbsp greek yogurt
- 1 tbsp heavy cream (optional)
- Black pepper to taste
Place all ingredients in a small bowl and whip on medium speed with a hand held electric beater for 2 minutes (a whisk will do if you don't have a hand held beater).
The key to this element of the salad is using good goat cheese. I buy goat cheese from a local farm (Nicolau Farms) that sells at our farmers market, but you can certainly buy it from the store. I just suggest splurging a little and buying the better brand.


Serves 4 if plating // Serves 5-6 if serving in radicchio leaves