
Growing up in Alabama, most people didn’t realize the extent of my Cuban heritage until they came to our house for dinner. When I would try to explain the Cuban part of my family, they would look at my buttermilk complexion and crinkle their nose as if to say “really...you?” But when they walked in the door, the smell of Cuban Black Beans or Ropa Vieja would nearly knock them over; they were instant believers.
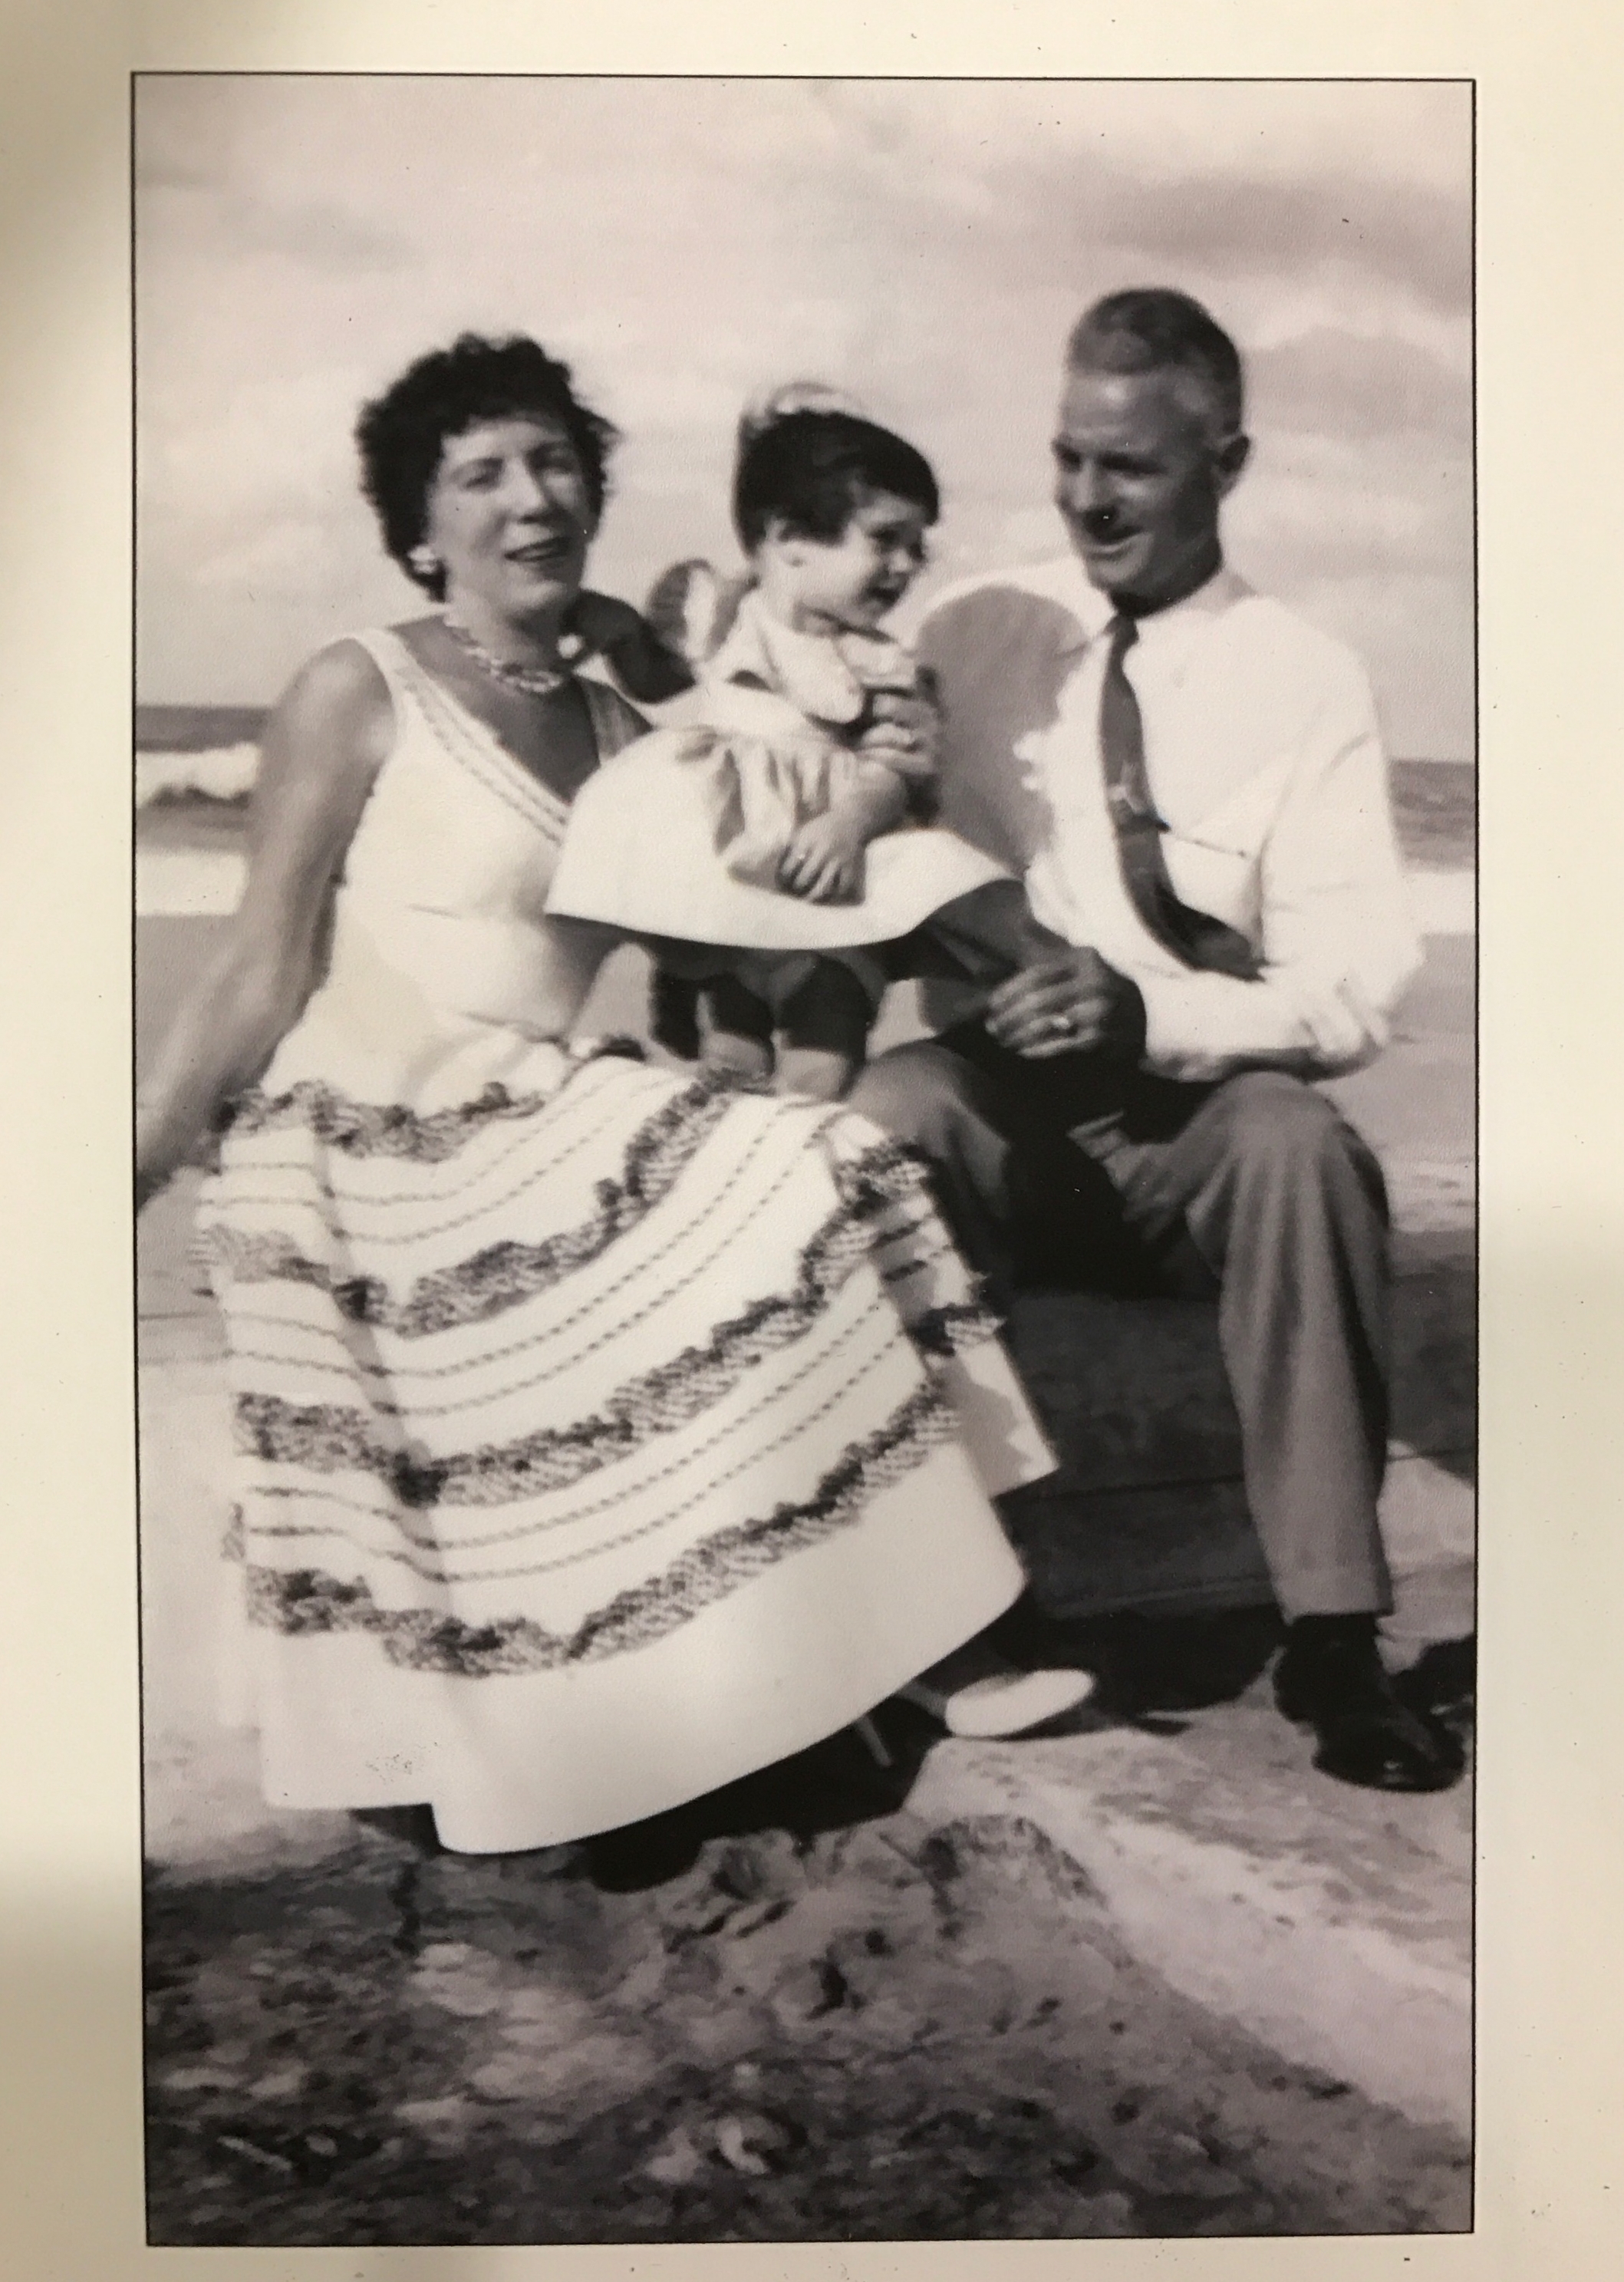
My mom and grandparents on the Malecon - the famous oceanfront boardwalk and boulevard in Havana.
My mom was born in Havana, Cuba. Her mother, Cuban. Her father, American. The revolution forced them to leave when my mom was only six, but her mother made sure that she grew up knowing her roots. It wasn’t until she arrived in the United States that my grandmother learned to cook, but cooking was a way to keep Cuba alive with her. My mom still loves to make (and is quite known for) the Cuban recipes her mother taught her as a young girl, and from the time I was allowed to operate the stove they were both all too thrilled to pass those recipes on to me.
My grandfather was from Florida and when he and his wife and daughter (my mom) fled Cuba, that was where they settled. My grandfather passed away when I was five and when I was seven, my grandmother moved to Alabama to live with us. She and I shared a room for a few months while my dad finished an apartment for her off the back of our house (and yes, we totally shared bunkbeds like cool kids). I learned a lot from her, and not just about cooking. I learned about the home she had to leave and her pride in the country she adopted and that adopted her as a citizen. I learned subtlety was not one of her main character traits and that she was wildly funny without really even trying. I learned about life and family and the usual things that grandparents teach you, but most of all, through all of those things, she taught me a lot about who I am.
Before learning how to make traditional Cuban meals, Cuba was just an idea to me. I had no real connection to the place outside of stories, everything I knew was filtered through someone else’s experience. Learning these flavors and recipes connected me to that half of my heritage in the truest sense I had yet experienced, granting me a physical and emotional connection to her culture and past.
My grandmother was never to return to her beloved Havana. She and my grandfather had fled the Castro regime, and the circumstances surrounding that made them uncomfortable returning while Fidel was still in power. So earlier this year, with American relations with Cuba warming, I was filled with a mixture of nerves and excitement when my family began planning a trip to visit the country of my mother’s birth. A place so shrouded in propaganda (from both sides) that it was almost impossible to know how we would be met.

To the right is a photo of my mom stepping on Cuban soil for the first time in 56 years.
Everyone was so welcoming to her, as well as the rest of us. “Welcome Home!” was a common exclamation, while calling us their “frenemies” (which is by far the best usage of that word I’ve ever witnessed) with endearing tones. Extra food would show up on tables at family owned restaurants (paladars), rum would be poured and passed around with toasts, and then people would say that if they had known this was a homecoming, they would have thrown a real party (i.e. slow roast a whole pig - but everything was pretty much a party to me with or without the whole shebang). To them, one of their own had returned, and regardless of political difference or a delicate, messy past, they wanted to celebrate the Cuban identity we all shared.
The more I learned about Cuba on this trip, the more I realized that food had veins in almost every part of life and history. Black beans and rice, roasted pork with mojo, fried plantains, yuca - all of these are consumed by the political leaders as well as the dissidents, those who happen to have wealth and those who have little, Cubans of Spanish descent and Cubans of African descent, Cubans who stayed in Cuba post revolution and those who fled. Food truly is a celebration of their culture and Cubans burst with pride in who they are. For Cubans, food creates connection to a greater body that ultimately served a bigger purpose - a sense of common identity. It was and still is a catalyst for social movements. It’s not just about innovations for survival or rebelling against a system while living within it’s boundaries, it’s becoming a vehicle for new freedoms. It has allowed Cuba’s people to gain a sense of monetary independence for the first time in decades, loosening the government’s control on their livelihoods. It transcends their politics, wealth, and ethnicity - what may disconnect them from each other - and reminds them of their common pride in being Cuban.
I wish that my grandmother could have seen her home one more time, especially like this. I wish she could have shared in our meals and greeted all of our new ‘frenemies’. Walking through her old city to the sounds of chatter and music, entering a spice store with a nearly intoxicating scent of cumin and bay leaves, and drinking endless cups of cafe Cubano sent me right back to her kitchen. She would spend days making pots of black beans with her cabinet full of tiny cafe sets, loud and endless talking, and plenty of campy “forgettable” music on the stereo. The world she transported me to through her stories and food had, in turn, transported me right back to her new life, my childhood, and the first moments I remember connecting to Cuba.
I am thankful for the opportunity to have visited this country that has been so fixed in imagination throughout my life, but I am mostly thankful for my grandmother, who never shied away from teaching me about her long lost home. Without her willingness to share, that part of my heritage may have been lost. She didn’t bring much with her from Cuba, but her stories and her recipes are heirlooms enough. Those recipes continue to reconnect me to the dinner tables where she would talk endlessly about one experience and then another. We have a few photographs that we can look at to fill some of the detail gaps in our imaginations, but by sitting down and eating a plate of her black beans I can share in an exact experience that we created together. Experiences she lived hundreds of times before she left Cuba.
---------
Over the next few months, I’ll be sharing posts about aspects of Cuba’s food movement and culture as it’s far too much to unpack in just one post. Well, that and I’ve just got too much to say. I can’t bring myself to subject you to reading a single endless post :). There will be some tasty recipes along with these written insights because I’d be hypocritical if I just talked about Cubans' desire to celebrate and share their culture via food and not invite you in…
I’ve made my grandmother’s black beans more times than I can count and every time they are just as comforting and full of life. I hope you enjoy making them and they bring you and your family just as much joy as they have ours.
Head on over to Grandma Trigg's Cuban Black Beans Recipe to get the rest of the story.

Breakfast at our casa particular in Havana.


