Say hello to fall with these easy, pumpkin pie spiced oatmeal cookies made with a jar of Trader Joe’s deliciously sweet pumpkin butter.
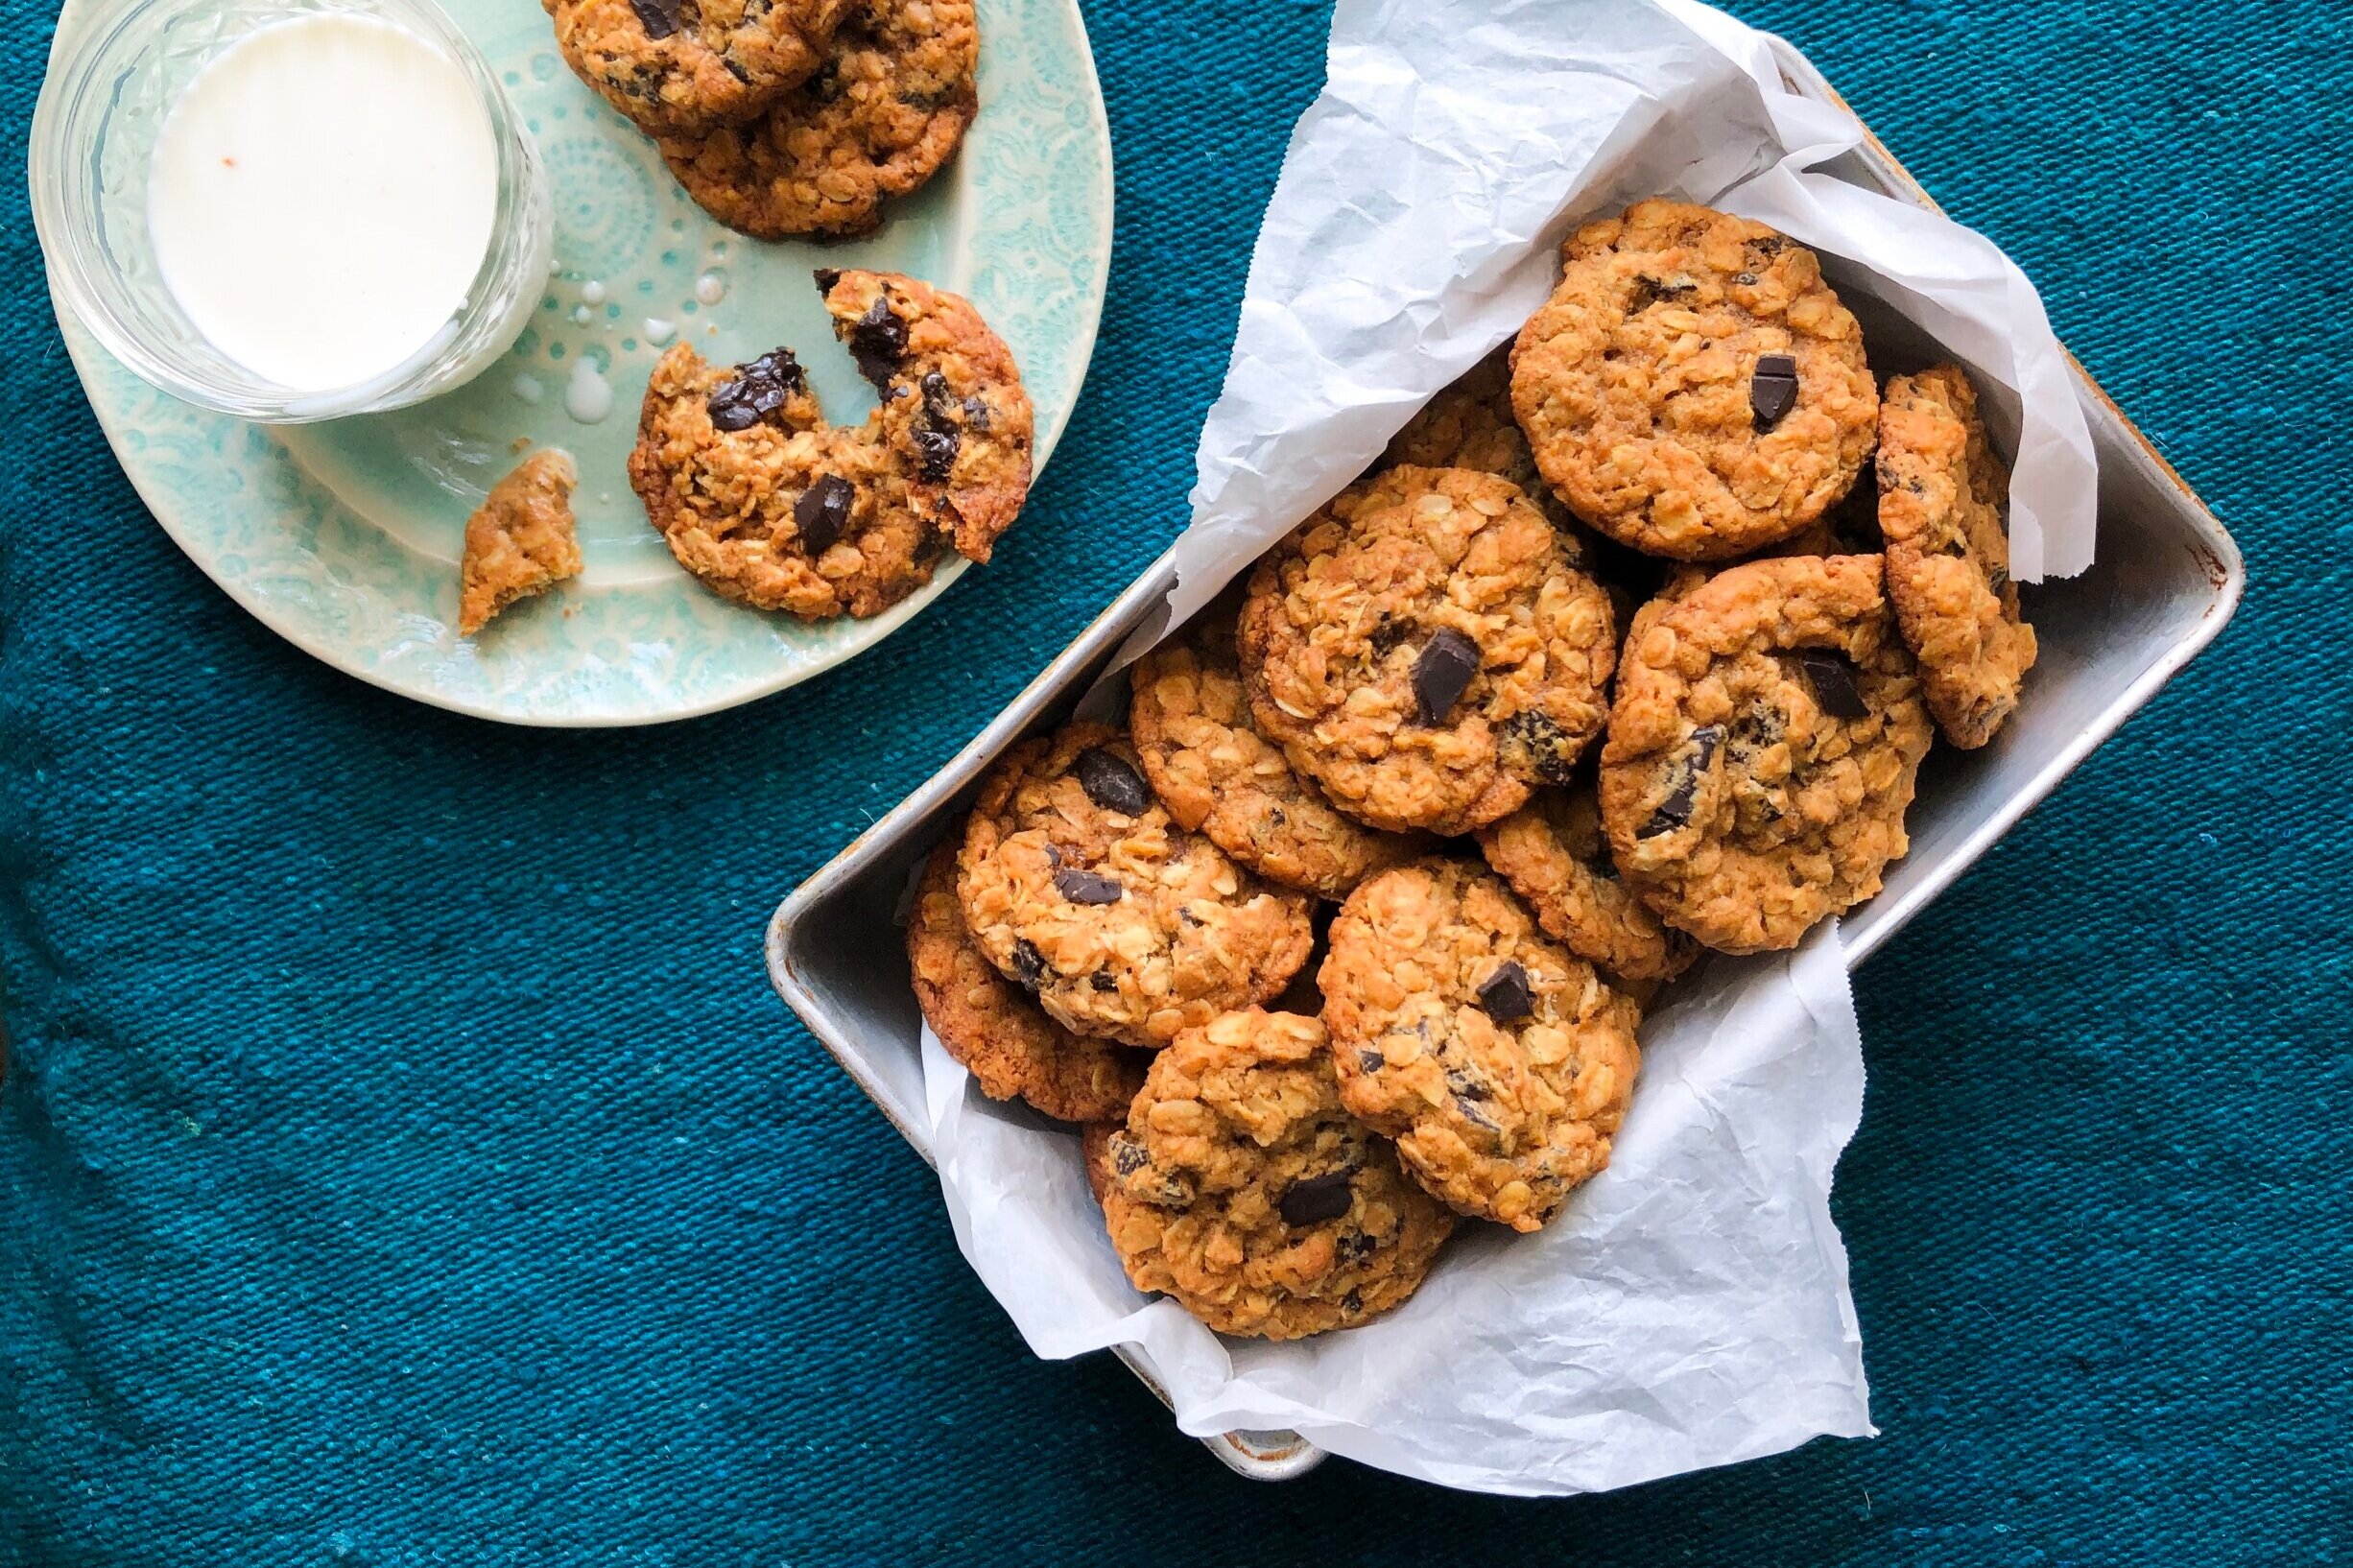
Pumpkin Oatmeal Chocolate Chunk Cookies
Makes about 42
Ingredients
1½ cups all-purpose flour
1 teaspoon baking soda
1 teaspoon cinnamon
½ teaspoon cardamom
½ teaspoon pumpkin pie spice
½ teaspoon kosher salt
1 cup unsalted butter, softened
¾ cup packed light brown sugar
½ cane sugar
1 (10-ounce) jar pumpkin butter (I used Trader Joe’s)
1 teaspoon vanilla extract
3 cups rolled oats
5 ounces dark chocolate bars, chopped (or 1 cup dark chocolate chunks)
⅓ cup finely chopped candied ginger
METHOD
In a large bowl, whisk together flour, baking soda, cinnamon, cardamom, pie spice, and salt.
In the bowl of a stand mixer fitted with a paddle attachment, add butter and sugar. Beat at medium speed until light and fluffy, about 3 minutes. Add pumpkin butter and vanilla; beat on low until combined, scraping the sides of the bowl as needed.
With the mixer on low, slowly add the flour mixture until fully combined, scraping down the bowl as needed. Fold in chocolate and ginger. Using a 1½ tablespoon spring-loaded scoop, scoop dough onto a wax paper-lined baking sheet. Cover and chill overnight (at least 8 hours and up to 24).
Preheat oven to 325F. Line a large baking sheet parchment paper. Place dough balls 2 inches apart.
Bake until golden brown, about 15 minutes for chewy cookies and 18 minutes for crispy cookies. Cool on the baking sheet for 5 minutes, then remove and finish cooling on a wire rack.


Pumpkin Oatmeal Chocolate Chip Cookie
Ingredients:
- 1½ cups all-purpose flour
- 1 teaspoon baking soda
- 1 teaspoon cinnamon
- ½ teaspoon cardamom
- ½ teaspoon pumpkin pie spice
- ½ teaspoon kosher salt
- 1 cup unsalted butter, softened
- ¾ cup packed light brown sugar
- ½ cane sugar
- 1 (10-ounce) jar pumpkin butter (I used Trader Joe’s)
- 1 teaspoon vanilla extract
- 3 cups rolled oats
- 5 ounces dark chocolate bars, chopped (or 1 cup dark chocolate chunks)
- ⅓ cup finely chopped candied ginger
Instructions:
- In a large bowl, whisk together flour, baking soda, cinnamon, cardamom, pie spice, and salt.
- In the bowl of a stand mixer fitted with a paddle attachment, add butter and sugar. Beat at medium speed until light and fluffy, about 3 minutes. Add pumpkin butter and vanilla; beat on low until combined, scraping the sides of the bowl as needed.
- With the mixer on low, slowly add the flour mixture until fully combined, scraping down the bowl as needed. Fold in chocolate and ginger. Using a 1½ tablespoon spring-loaded scoop, scoop dough onto a wax paper-lined baking sheet. Cover and chill overnight (at least 8 hours and up to 24).
- Preheat oven to 325F. Line a large baking sheet parchment paper. Place dough balls 2 inches apart.
- Bake until golden brown, about 15 minutes for chewy cookies and 18 minutes for crispy cookies. Cool on the baking sheet for 5 minutes, then remove and finish cooling on a wire rack.
Notes:
Calories
114.37Fat (grams)
5.88Sat. Fat (grams)
3.43Carbs (grams)
14.21Fiber (grams)
1.03Net carbs
13.18Sugar (grams)
6.24Protein (grams)
1.47Sodium (milligrams)
58.02Cholesterol (grams)
11.89